It’s important to inspect your mountain bike before each and every ride to avoid mishaps out on the trail. To make it quick and easy to remember the steps, we use the ‘M’ method. Each of the five points of the letter ‘M’ signifies a checkpoint in your inspection. You’ll start at the rear wheel, move up to the seat post, down to the pedals, up to the handlebars and down to the front wheel. Learn how to perform a pre-ride check by following along with our step-by-step video and the instructions below.

Step-by-step pre-ride mountain bike check
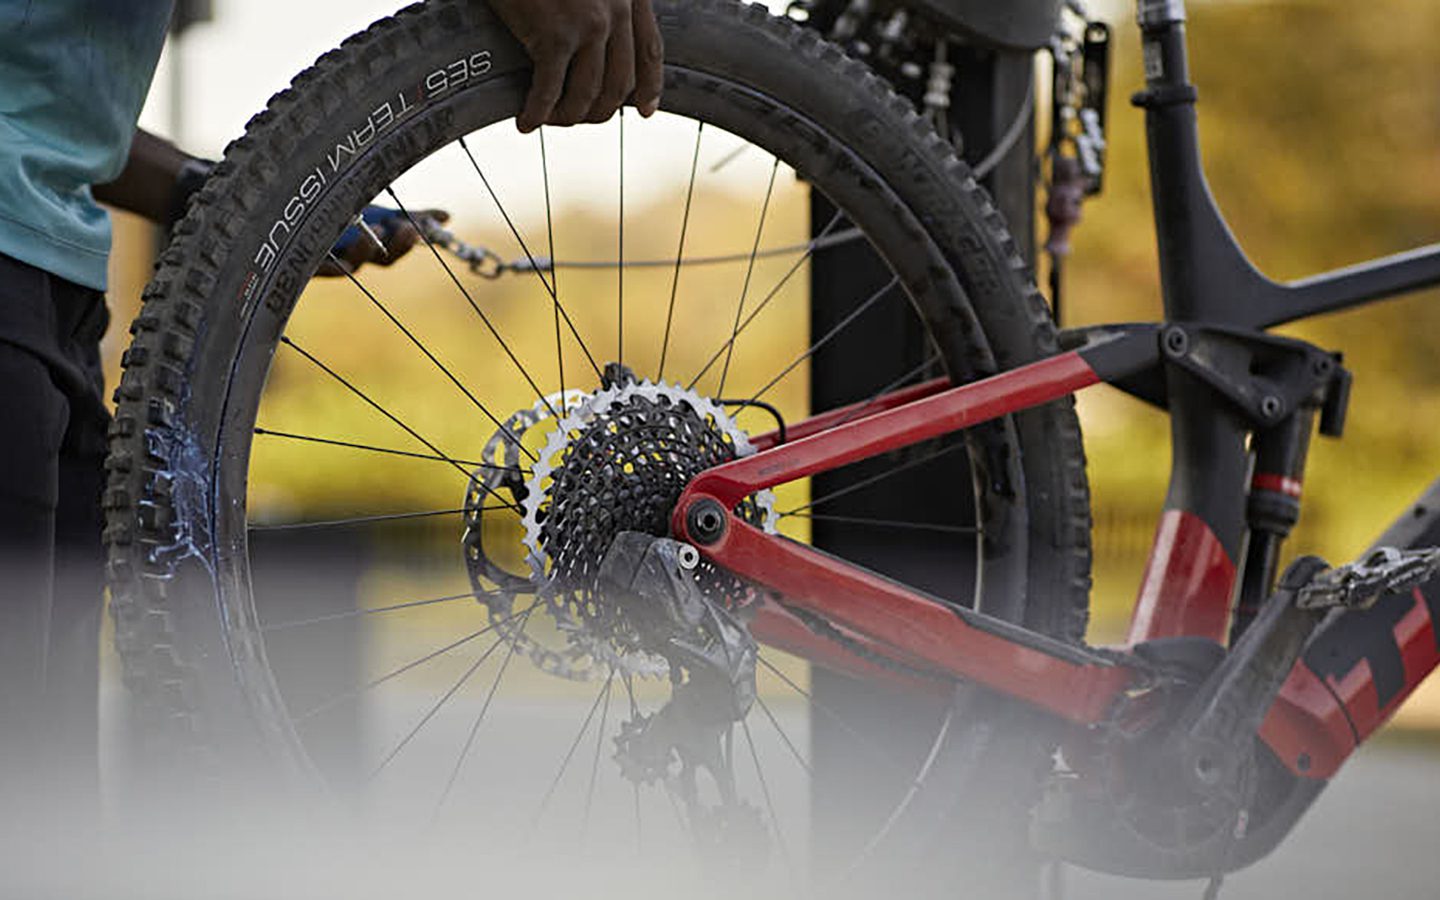
‘M’ point No. 1
The first point of the ‘M’ is the rear wheel.
Attach a pump and make sure that your tyre is inflated within the recommended pressure range, which is printed on the side wall of your tyre. Ideal tyre pressure is a matter of personal preference and can depend on a variety of factors, such as where you’re riding and whether you’re running tubeless or not, but you should aim for the middle of the recommended PSI range and adjust from there.
You want enough pressure so that your rim won’t hit the ground, but not too much that you’re losing traction. If your pressure is too low, you run the risk of pinch flats, and if your pressure is too high, you won’t get good traction and your handling will suffer.
Pro tip: If you’re running a tubeless tyre set-up, we recommend adding fresh tubeless sealant every six months.
Check the brake pads for wear and spin your wheel to make sure it spins freely through the brakes with no rubbing. If they rub, and you’ve checked to make sure that the wheel is seated correctly in the dropouts, you may need to adjust your brakes.
‘M’ point No. 2
Move up the seat post to the saddle and twist your saddle from side to side. Make sure that the seat post clamp is tight and holding the saddle and seat post securely in place.
Test your dropper post to make sure it’s working by pushing the lever and pressing your saddle down with your hand.
Then, with your bike on the ground, drop the rear of the bike from about ankle height. Listen for any rattles or other odd noises. This could mean that something is loose or worn out and should be taken into your local Trek retailer for service.
‘M’ point No. 3
Now move down to the crank set – the middle point of the ‘M’. Spin both pedals and check for any creaks or other sounds.
Next, grab both pedals and torque them from side to side, check for any play in the pedal or crank system.
Then spin the crank backwards, and listen for any creaks or squeaks in the chain or shifting system.
General chain noise could just mean that your chain needs to be lubed, but shifting noises usually need to be taken to a retailer for a closer look.
‘M’ point No. 4
Move from the cranks up to the handlebars. With your bike on the ground, drop the front of the bike from about ankle height. Listen for any rattles or other odd noises, just as you did for the rear part of your bike.
Be sure to twist the area to ensure that the stem and handlebar are tight – see the video for a demonstration.
Then, give the brakes a squeeze to make sure that they engage without pulling the lever all the way back to the handlebar. If the brakes are not working properly, replacement parts and services can be found at your local Trek retailer.
‘M’ point No. 5
The final point of the ‘M’ is the front wheel. You’ll essentially repeat the same process that you used for the rear wheel.
Attach a pump and make sure that your tyre is inflated to the mid-range of your recommended pressure. You can find the recommended PSI printed on the side wall of your tyre. If the pressure is too low, inflate the tyre within the recommended range. If you have a tubeless set-up, be sure to check your sealant.
Finally, spin your front wheel to make sure it spins freely through the brakes without rubbing. If they rub, and you’ve checked to make sure the wheel is seated correctly, you may need to adjust your brakes.
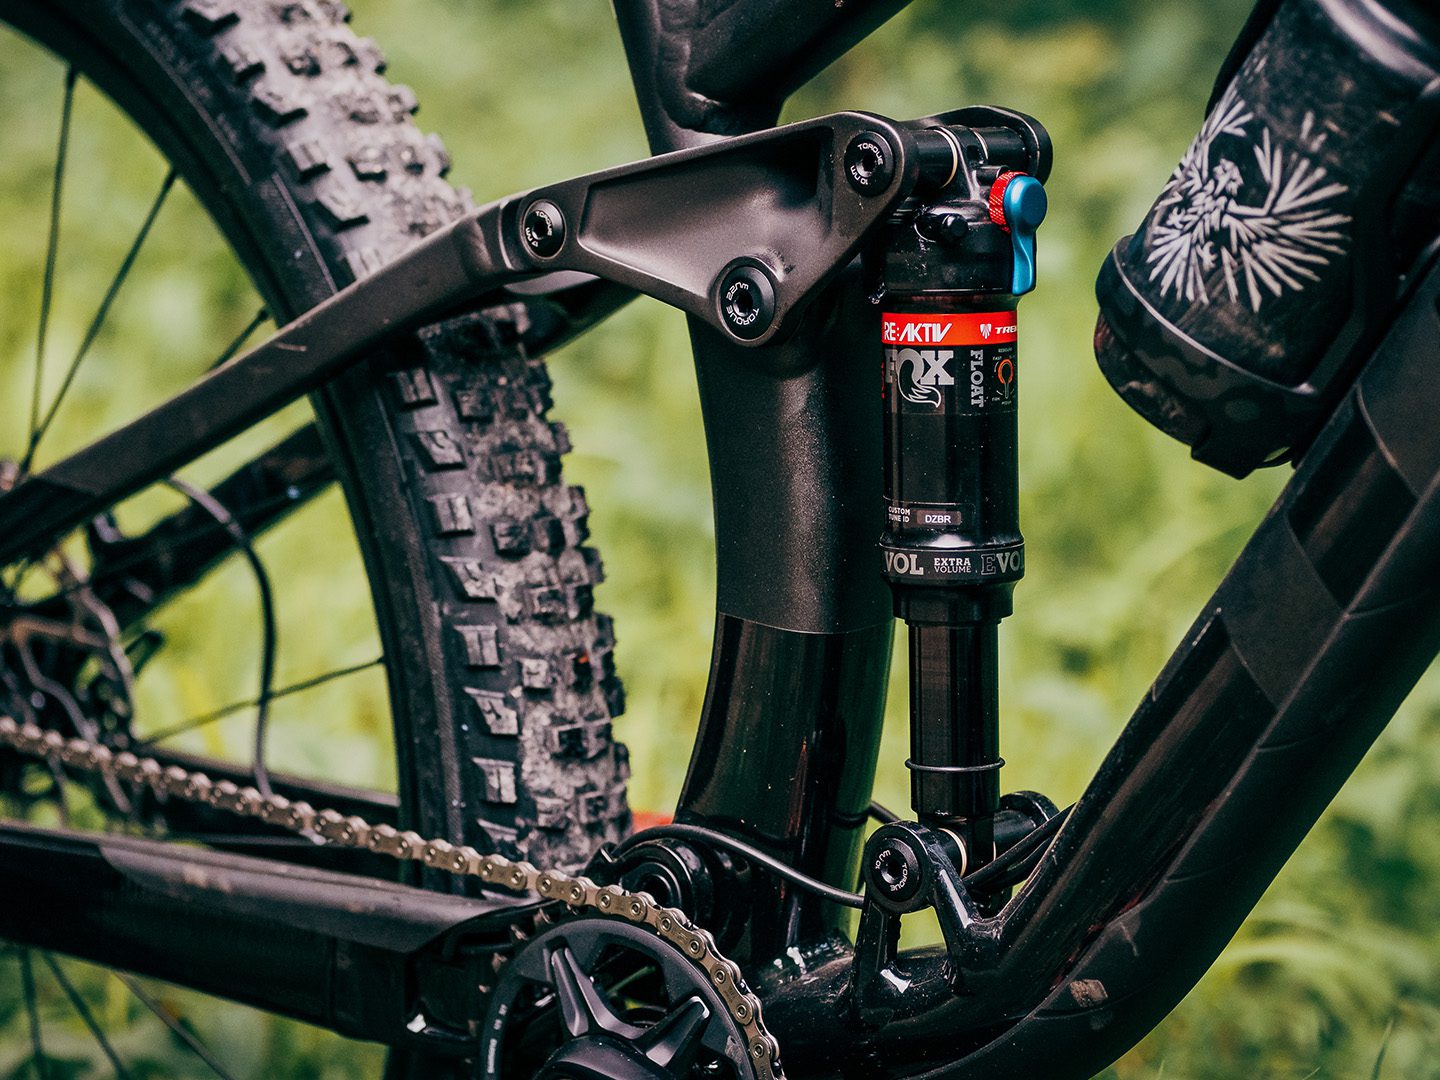
BONUS POINT: Check your suspension
You should regularly check your suspension set-up by measuring the distance between the o-rings and the shock body or fork lowers. After a typical ride, the o-ring distance should match the specified stroke for your shock, or the travel for your fork. If you are not achieving full travel, you may want to try lowering your PSI. If the o-ring is travelling too far, or sliding off the shock shaft, you may want to increase your PSI.
Remember that individual preference and ride style are important factors in finding the suspension setting that works for you. Experiment with different levels of sag and rebound until you find the combination that best fits the way that you ride your mountain bike.
You can use our suspension calculator to help optimise your suspension settings for your riding weight.
That’s it! Pretty straightforward, right? In addition to performing your pre-ride check and doing basic maintenance at home, like tyre inflation and chain lubrication, regular maintenance at your local Trek retailer will keep components running smoothly and can catch issues before they become problems. You can find your local Trek Certified Service provider using our store finder.

Bike tools & maintenance

About the Author: Trek
Our mission: we build only products we love, provide incredible hospitality to our customers, and change the world by getting more people on bikes.