Good photos do more than capture a place and time. They conjure memories of the journey, freeze adventures into a timeless snap and allow us to share the stories we create with our friends, family and the world beyond.
Capturing awe-inspiring images takes a little more effort than the quick happy-snap. It requires patience, planning and stepping outside the box to find the best perspective possible. The best place to start when taking on a new skill is by talking to the masters of the craft, so we sat down with professional photographer and bike aficionado Wayne Reid to get expert advice on viewing bikes through a different lens.
While Wayne was only a teen when he first picked up a camera, photography was far from his passion growing up. It wasn’t until later in life that he found his knack for viewing life behind the lens and turned it into a career.
‘Photography was something I picked up in my early teens and did A-level in, then I totally lost all interest in it – I guess when you follow a syllabus and are told what to do, it loses its sheen a little. I picked it up again about 10 years ago and before I knew it, it was my sole income.’ Wayne tells us, ‘I like how photography allows you to interpret a scene and make it your own. You can be creative, and there’s the element of documenting things.’
‘I like how photography allows you to interpret a scene and make it your own.’
As an avid cyclist, it was only natural that photography and bikes would meet on the trail for Wayne. ‘Over the last two years, I’ve made a conscious effort to take a camera out with me on all rides, and I don’t see it as a burden anymore, as I’m not chasing Strava segments. I take time to enjoy the ride and focus on the art, taking pictures of bikes and scenery, and documenting the rides – everyone is always super happy to get pictures of themselves doing something they love,’ Wayne says.
Of course, photography requires time and cameras and standing still. Which means Wayne had to adapt his approach to cycling. Wayne tells us, ‘My bikes are set up entirely different now, and I’m not averse to having a basket or bag. If I know I’ve got limited time I’d rather go out during the golden hour before sunset and do a nice gentle ride and take some pictures. It’s about the ability to stop, take in your surroundings, and pay attention to what’s going on. Years ago, I’d fly past something, give it a cursory glance and maybe think, “Oh, that’s lovely,” then carry on. Now I think, “That’s lovely,” set the bike to the side, get the camera out and take some photos.’
And being a professional photographer, he has the benefit of access to nice cameras and lenses, though he has go-to options for most of his ride shots. ‘If I have my basket bag, I’ll take out a DSLR digital camera – I’ve got a Nikon D810, which is a heavy megapixel full-frame DSLR. I’ll also bring out a wide-angle lens, 24 mm, and my favourite portrait lens which is an 85 mm and is just beautiful. If I’m not carrying both, I’ll have a hip bag with the DSLR and one lens attached. Or if I’m traveling light, I’ll have a Fuji X100 which is a digital camera with a fixed focal length, decent image quality, great sensor, beautiful viewfinder, and it’s small and light which means I can bring it even if I’m on a road ride – it’s small enough to fit in a rear pocket. It’s not weather-sealed though, so that can be a problem,’ Wayne says.
‘Years ago, I’d fly past something, give it a cursory glance and maybe think, ‘Oh, that’s lovely,’ then carry on. Now I think, ‘That’s lovely,’ set the bike to the side, get the camera out and take some photos.’
Wayne’s top tips for capturing eye-catching bike photos
1. Get out and ride (and bring your camera)
The old adage is ‘You have to be there.’ This means saddling up with your camera in tow, even if the forecast calls for a little rain. If you’re not getting out, you’re not going to get any shots – plain and simple.
2. The best camera is the one you have with you
You don’t need to spend your whole bike budget on bucket-loads of expensive gear to get started. Chances are there’s a great camera on your phone – and you probably carry that everywhere you go. While your phone might not let you play with shutter speed and aperture, you can experiment with how you frame shots to get creative. If you do want to invest in something, Wayne suggests getting a sturdy second-hand DSLR to start with – something that’s great for learning the ropes.
3. Aim for the golden hours
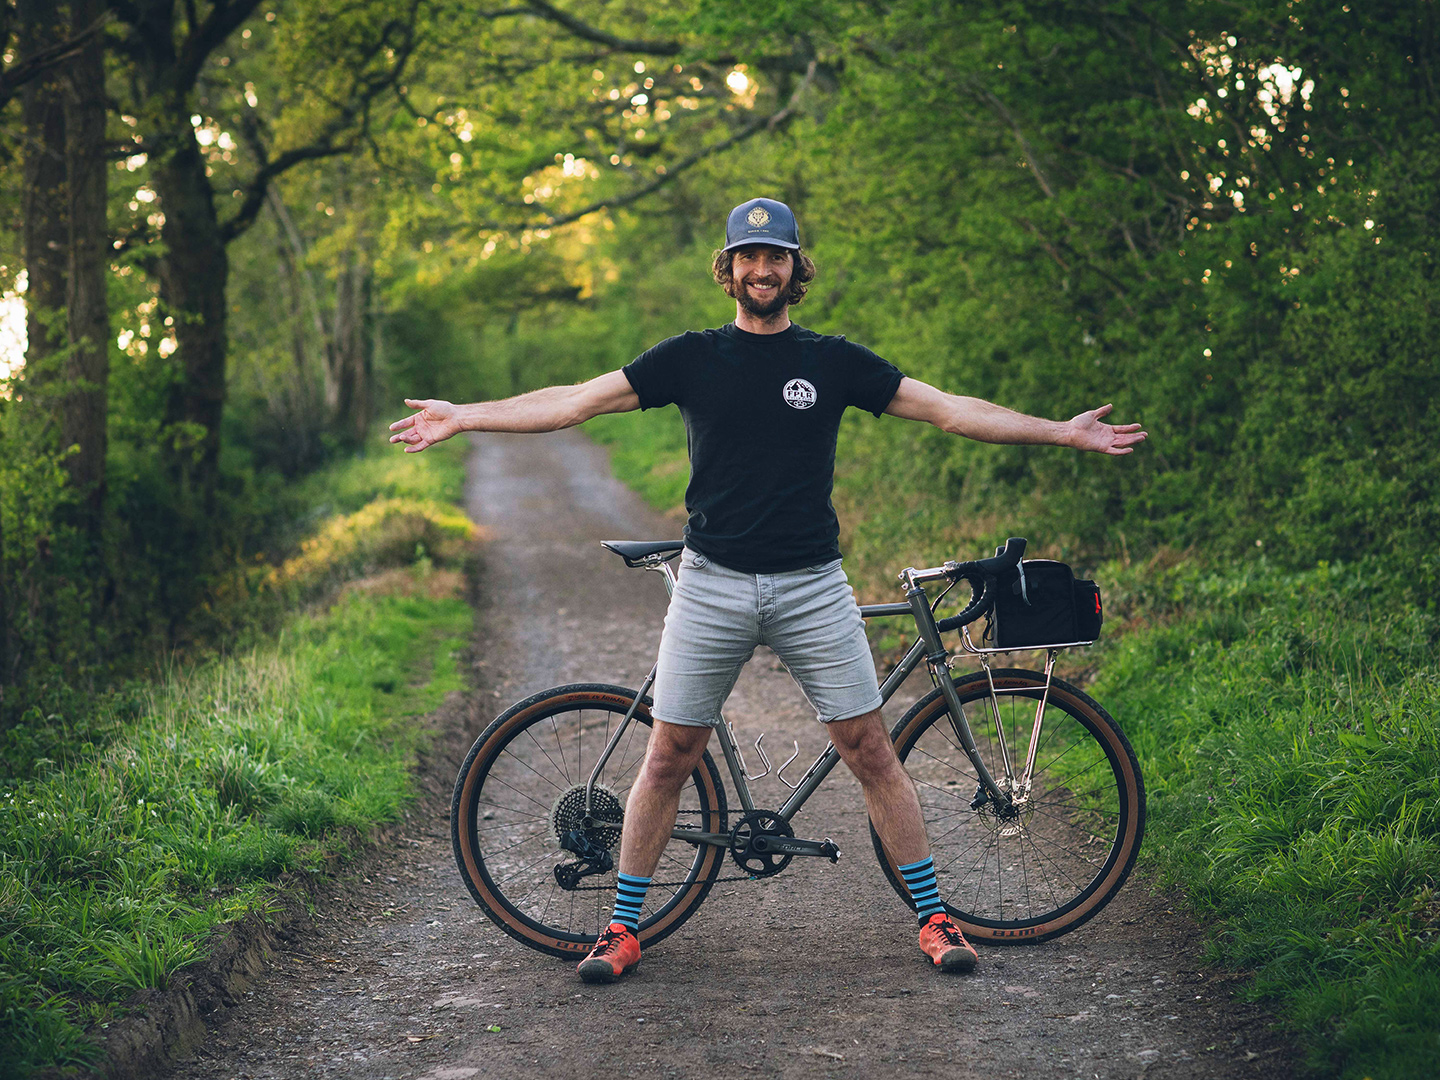
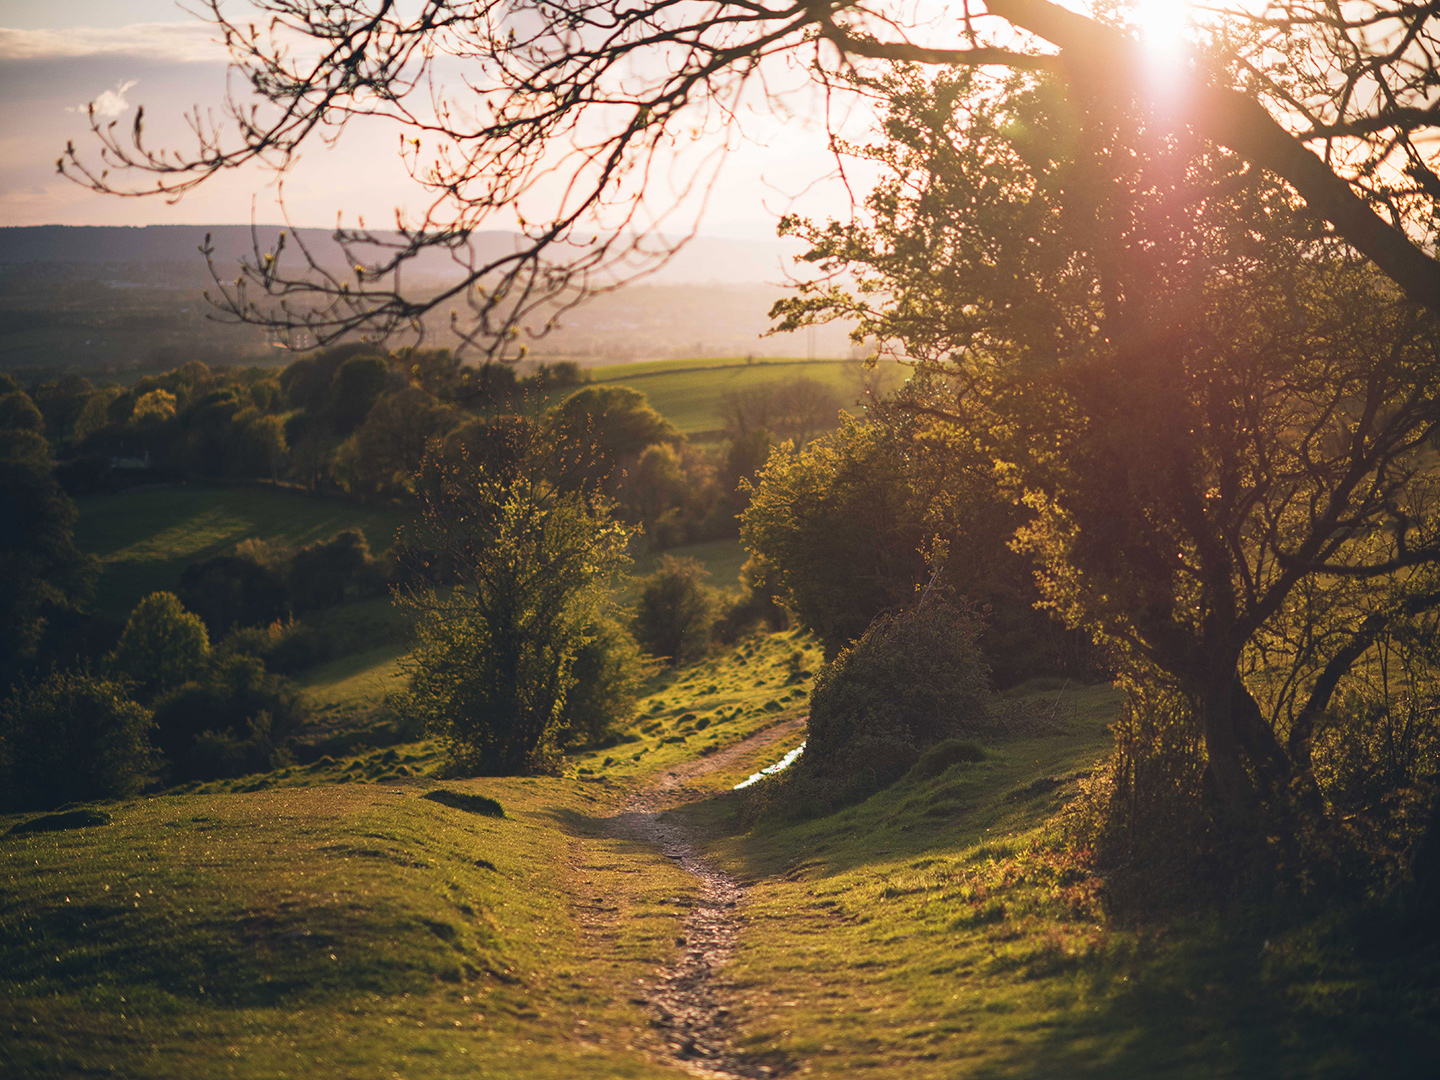
‘You get the most interesting light in the very early morning or at dusk, especially for mountain biking or gravel riding. You have that low sun that filters through the trees with its golden wash of colour – hence golden hour – and it’s also usually quieter,’ Wayne explains. ‘This means you can be on otherwise busy trails but you’ll have time to stop, take it all in and not have to worry you’ll be run into by someone if you’re on the trail.’ While the pre-dawn hours may be quiet on the trail, it’s always best to keep an eye out for your fellow early morning risers and evening trail users.
4. Learn a few photography rules… then break them
According to Wayne, ‘There are so many “rules” that people either obey or don’t obey. For example, the “rule of thirds”, where you try to split your composition into thirds horizontally or vertically, for example using the foreground and horizon. Leading lines are another example; you might have a trail running off into the distance, so you try to photograph it running from one corner of the image to another, and it leads your eyes with it.’ These are classic composition rules, so take a little time to learn them, play with them, then play with breaking them.
5. Change your viewpoint
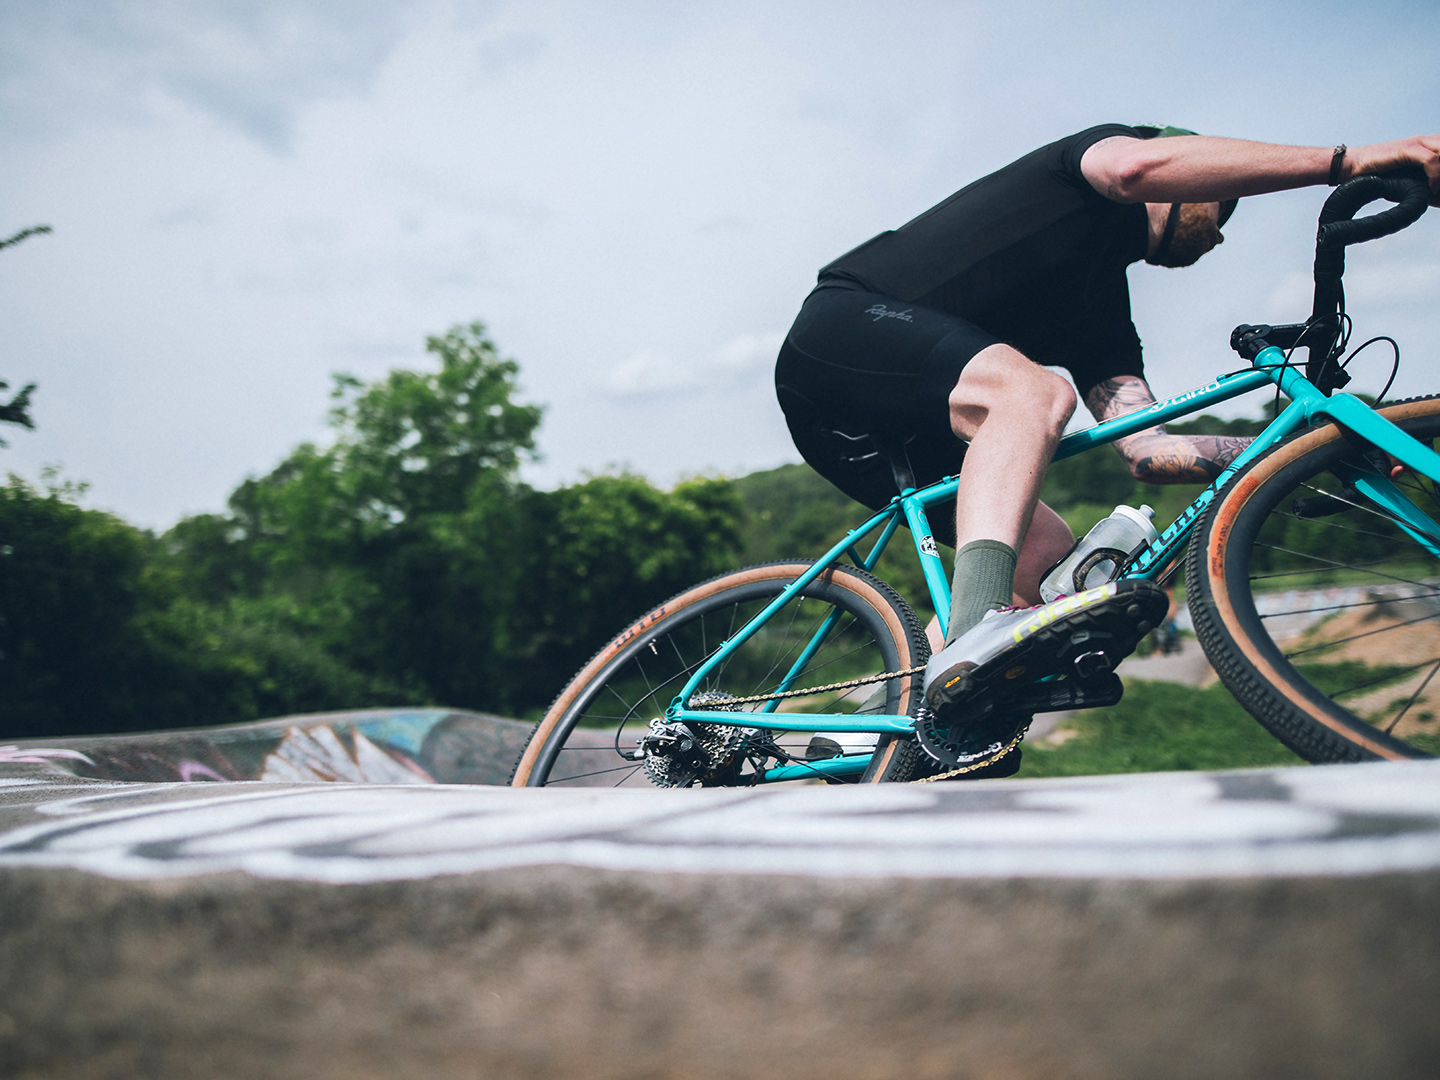
‘Rather than just stopping your bike and taking a picture standing up,’ Wayne explains, ‘it’s important to move away and get a different vantage point. Crouch or lie down on the floor, get up high, move six feet away from the trail, get a view of where you’re going rather than where you are – in fact, this is probably the best piece of advice.’
‘Rather than just stopping your bike and taking a picture standing up, it’s important to move away and get a different vantage point.’
6. Add interest in the foreground
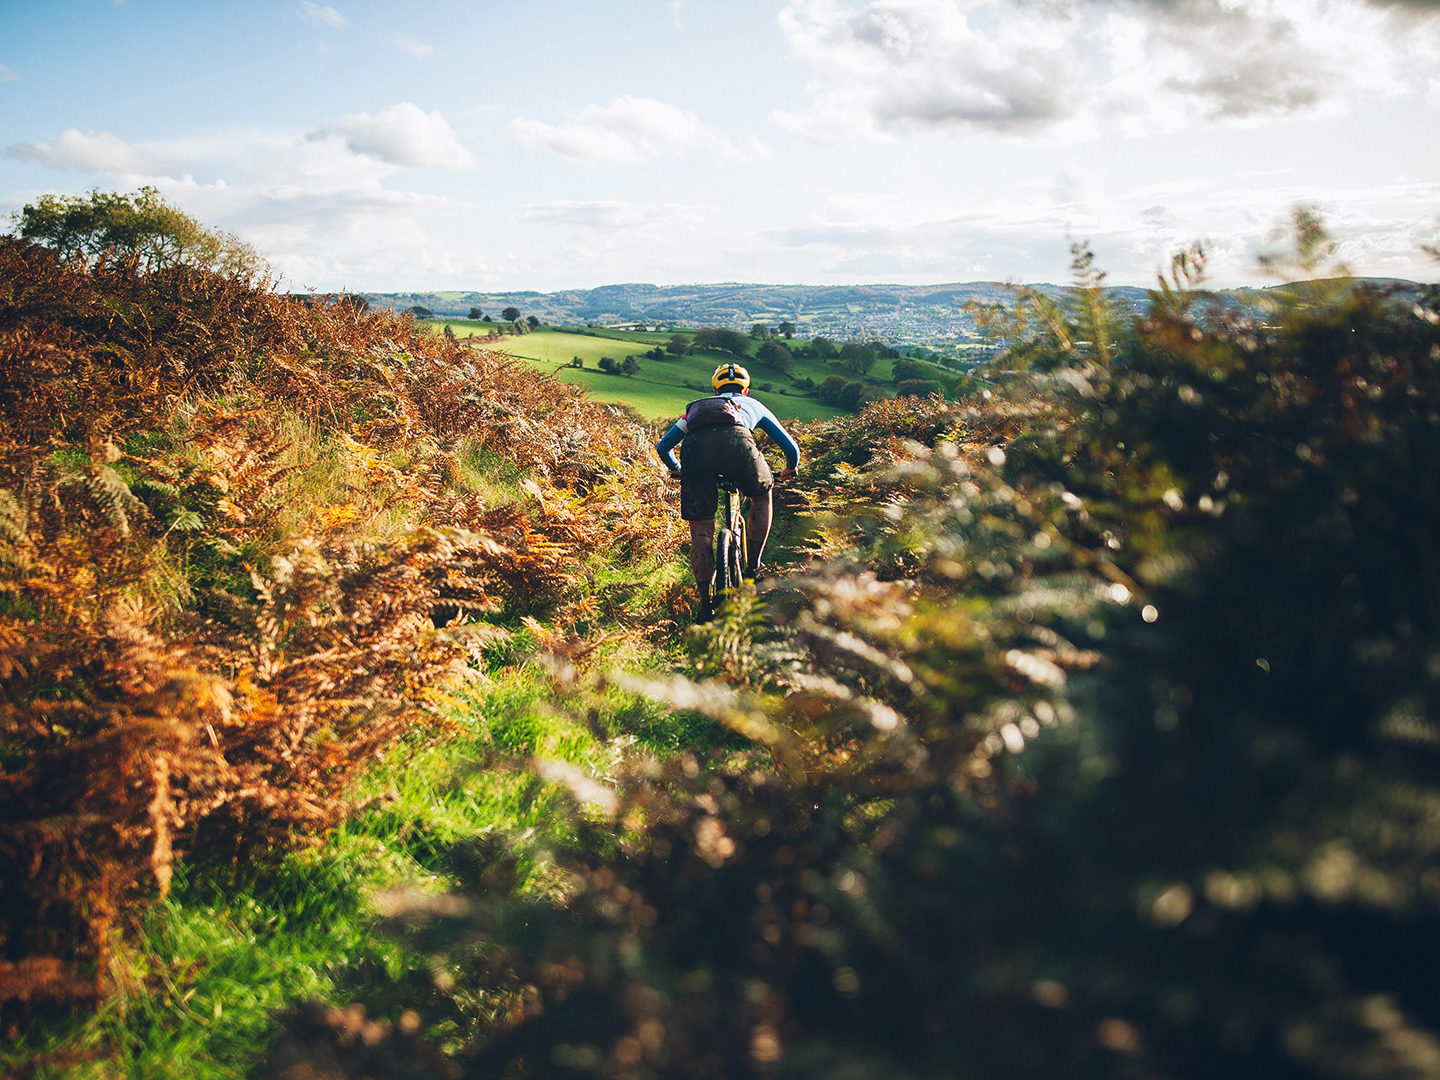
‘Try shooting through something,’ Wayne suggests. ‘Say, in the foreground, you have a hedge or some tree leaves or something; you can put those near your lens and shoot through. This will add interest and depth to the image, so you have multiple layers.’ Just as important: don’t be afraid to get dirty! Get on the ground and snap a photo through tall grasses, or move a couple of paces off-trail to find your shot peeking through the limbs of a tree.
7. To get a great bike shot, find a great background
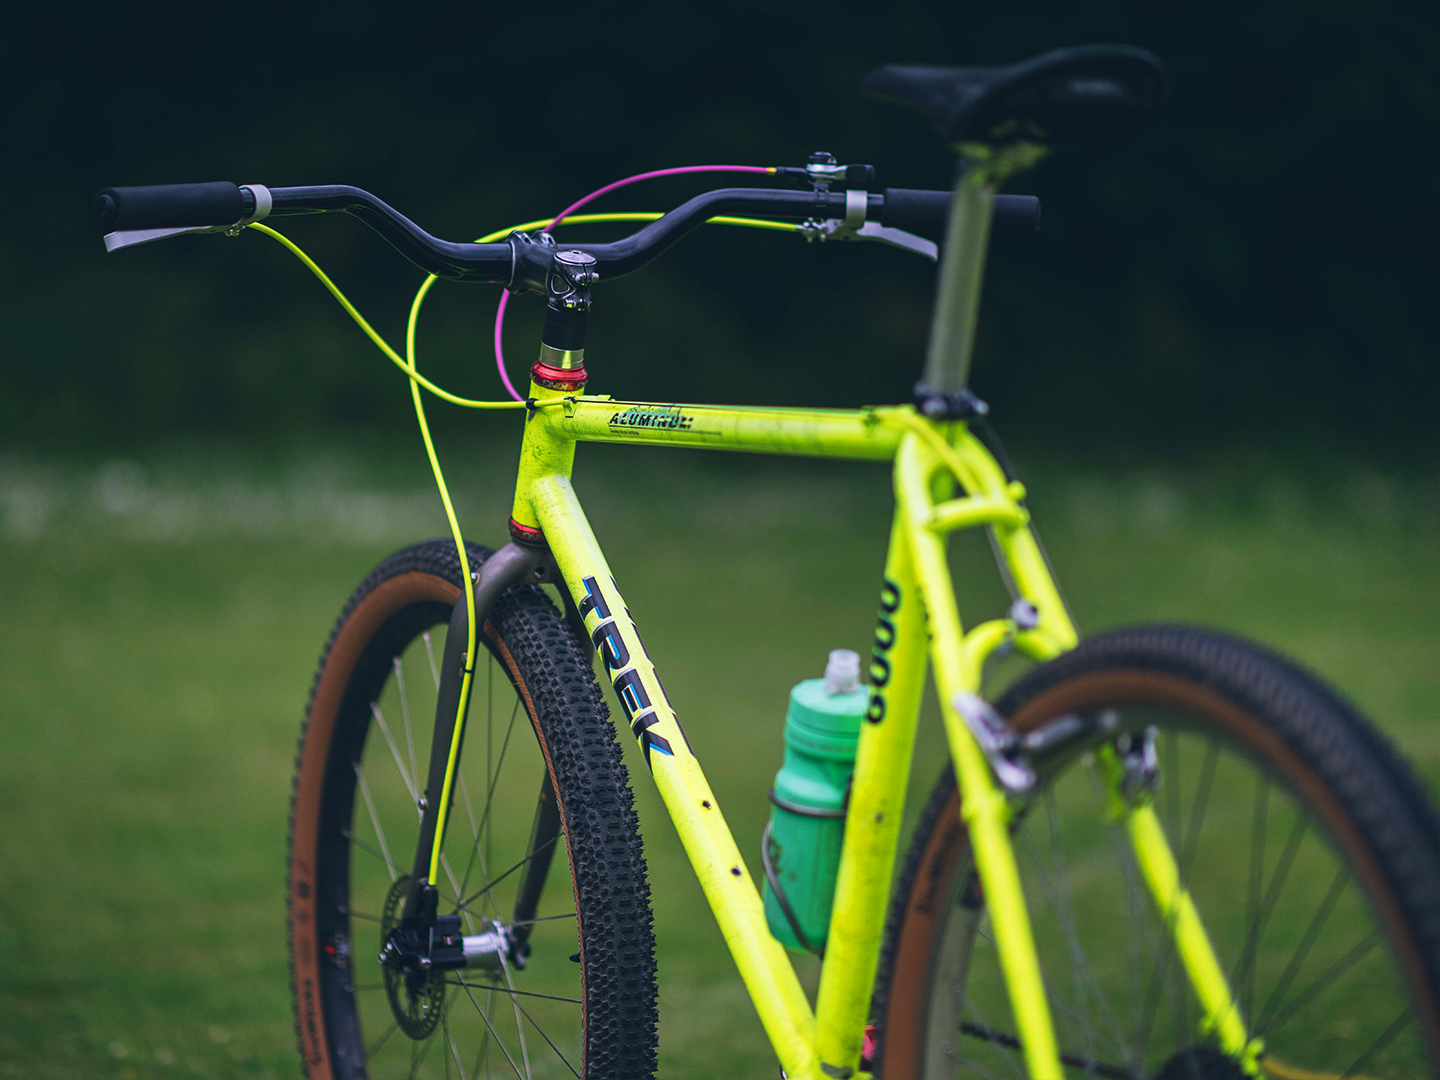
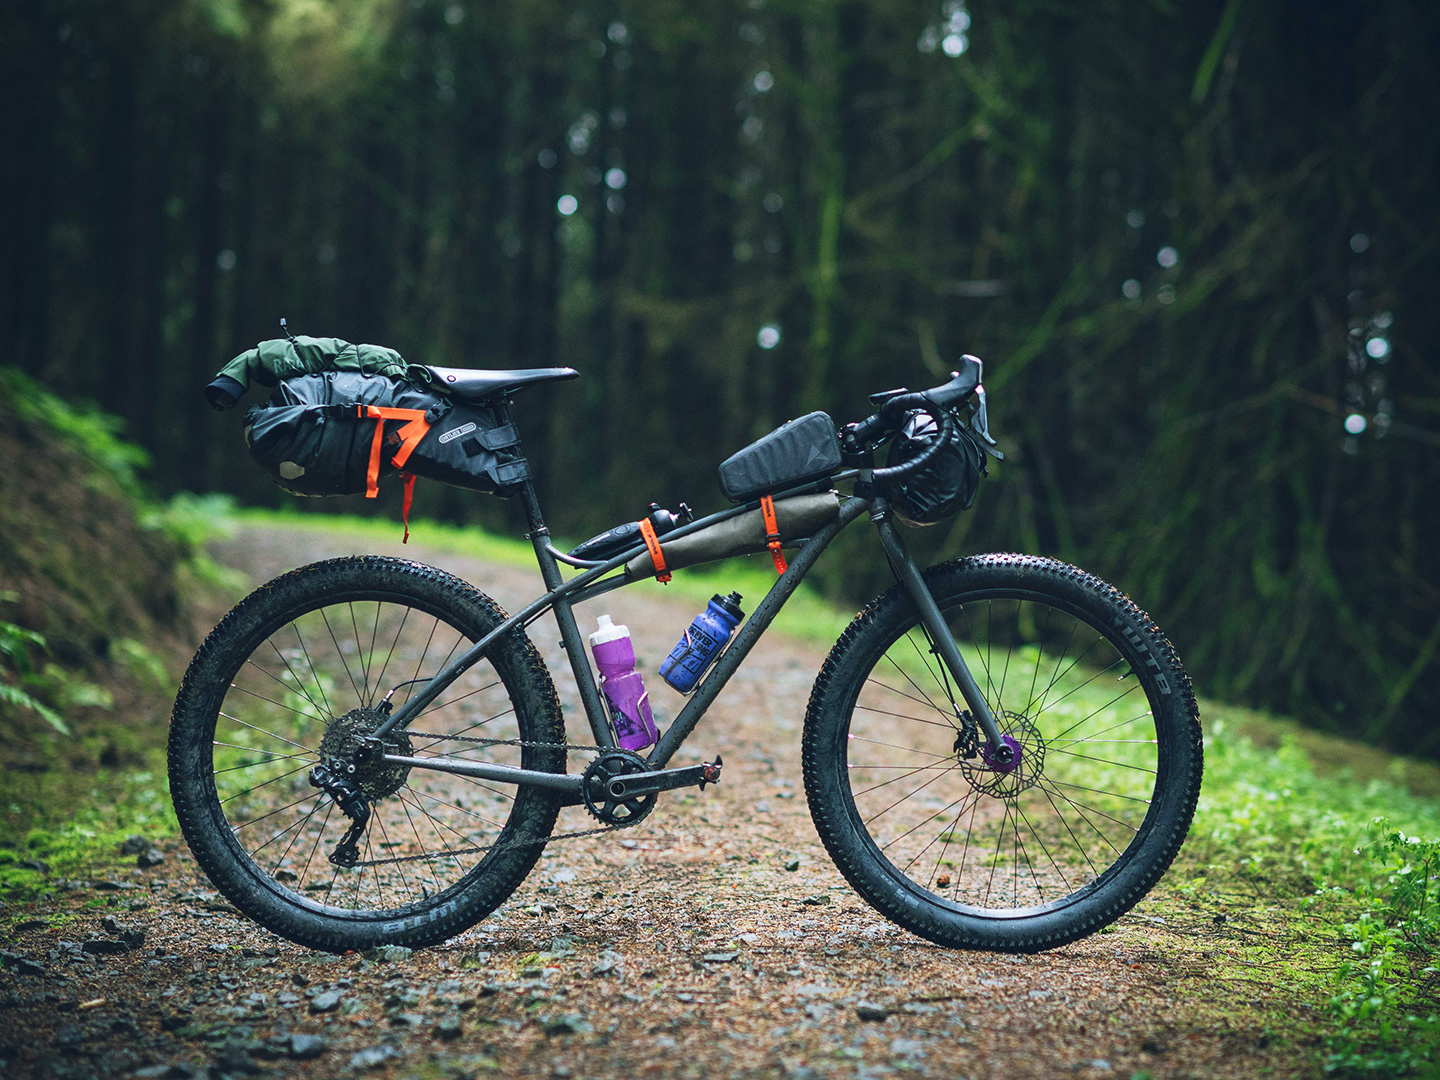
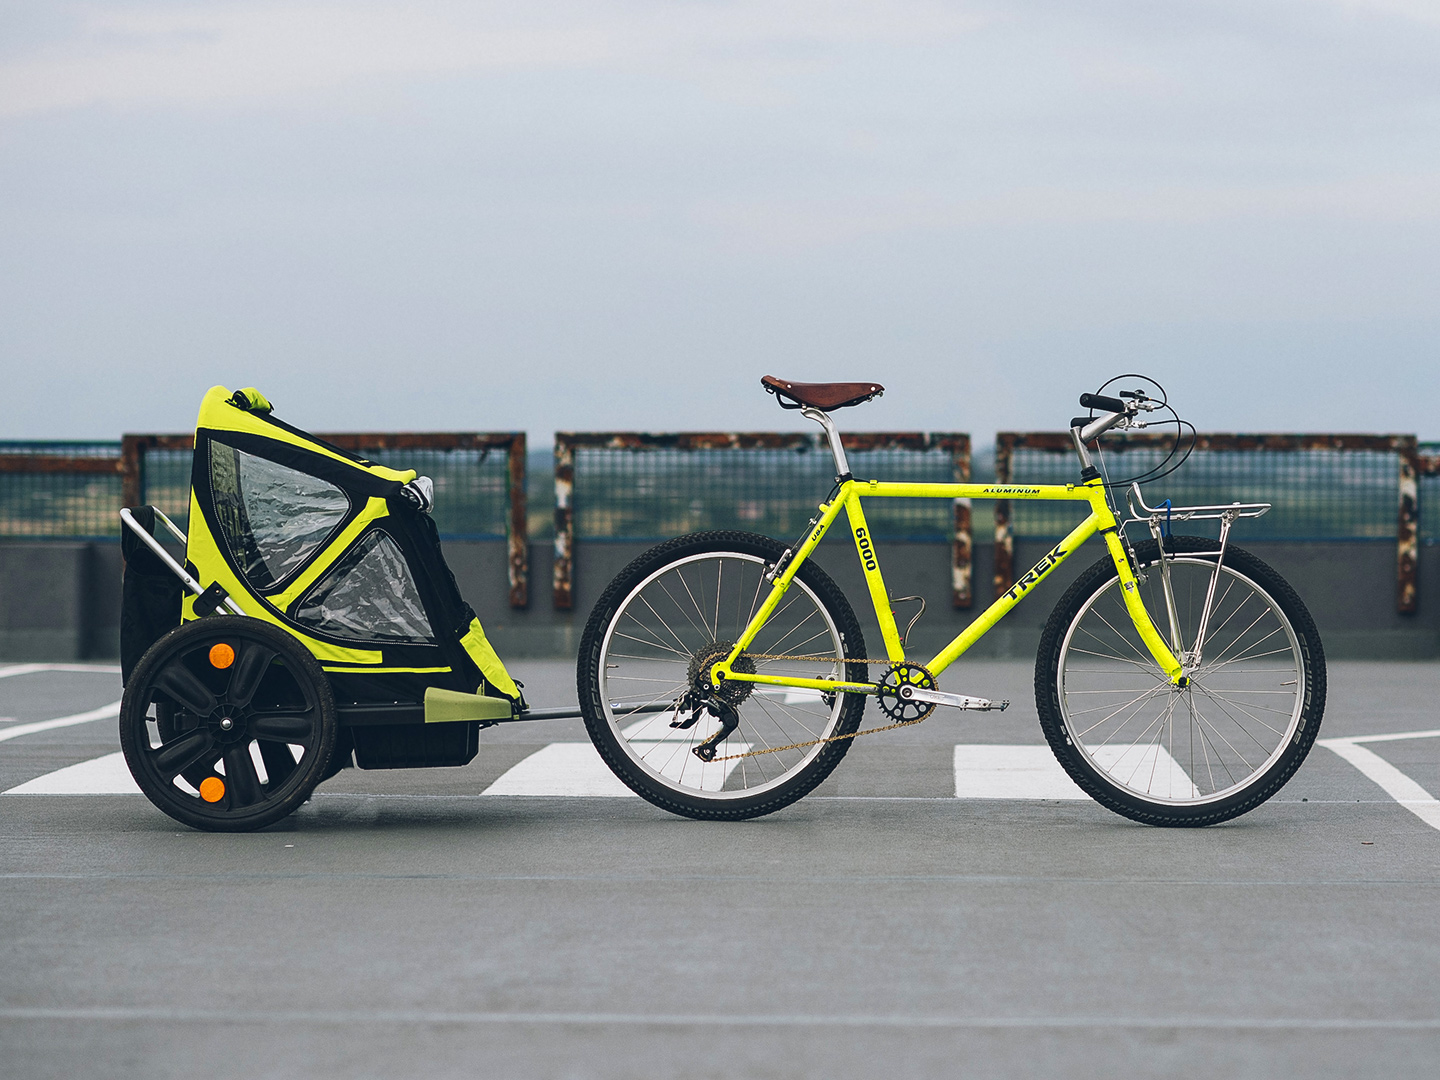
We all love a sharp bike photo that shows off our trusty steed, and Wayne has a few key tips to get the most of your bike beauty shots. ‘I’m a big fan of having the bike in context,’ he says. ‘For example, I’ve just taken a photo of a mountain bike I’ve rebuilt for someone, and I snuck it out to a wooded area just around the corner from the studio so it looks like it’s deep in the woods. You can go for something a bit more simple, like a plain background, or if you’ve got a bike of a particular colour, then try and find a wall or background of a complementary colour and shoot against that.’
8. Then stand the bike up away from the wall
‘I always try and prop my bike up against something a few feet away from the background,’ Wayne says, ‘which allows you to blur out the background so the bike is the focus of the photo. If you’ve got a decent camera, shallow depth of field will allow you to ensure the bike is in focus, and the background is slightly out of focus, so it’s less distracting.’
9. Think outside the tripod
A simple stick, Wayne says, can be an essential piece of gear. ‘A cleverly placed stick means you can stand the bike up and from a certain angle, you can make it disappear without the use of Lightroom or Photoshop (or other photo editing software),’ he explains. ‘If you’re near a wooded area, it’ll take you only a couple of minutes to find a stick you can jam up against the frame and the floor so your bike stands up on its own.’
10. Make sure the bike is ready to be photographed
Bike photo aficionados can tell the difference between a bike perfectly posed and an unplanned bike pic in just a glance. Take a couple of minutes to get your ride ready for its beauty shots: adjust your cranks to be level with your chainstay and stabilise it with its drive-side facing the camera. ‘The drive side is important,’ explains Wayne, ‘because people like to see what you’re running – your gears, components and that kind of thing.’ Some like to take it a step further, rotating wheels so valve stems point upwards for an extra-tidy finish. Attention to detail is everything.
11. Capture the experience, atmosphere and emotion
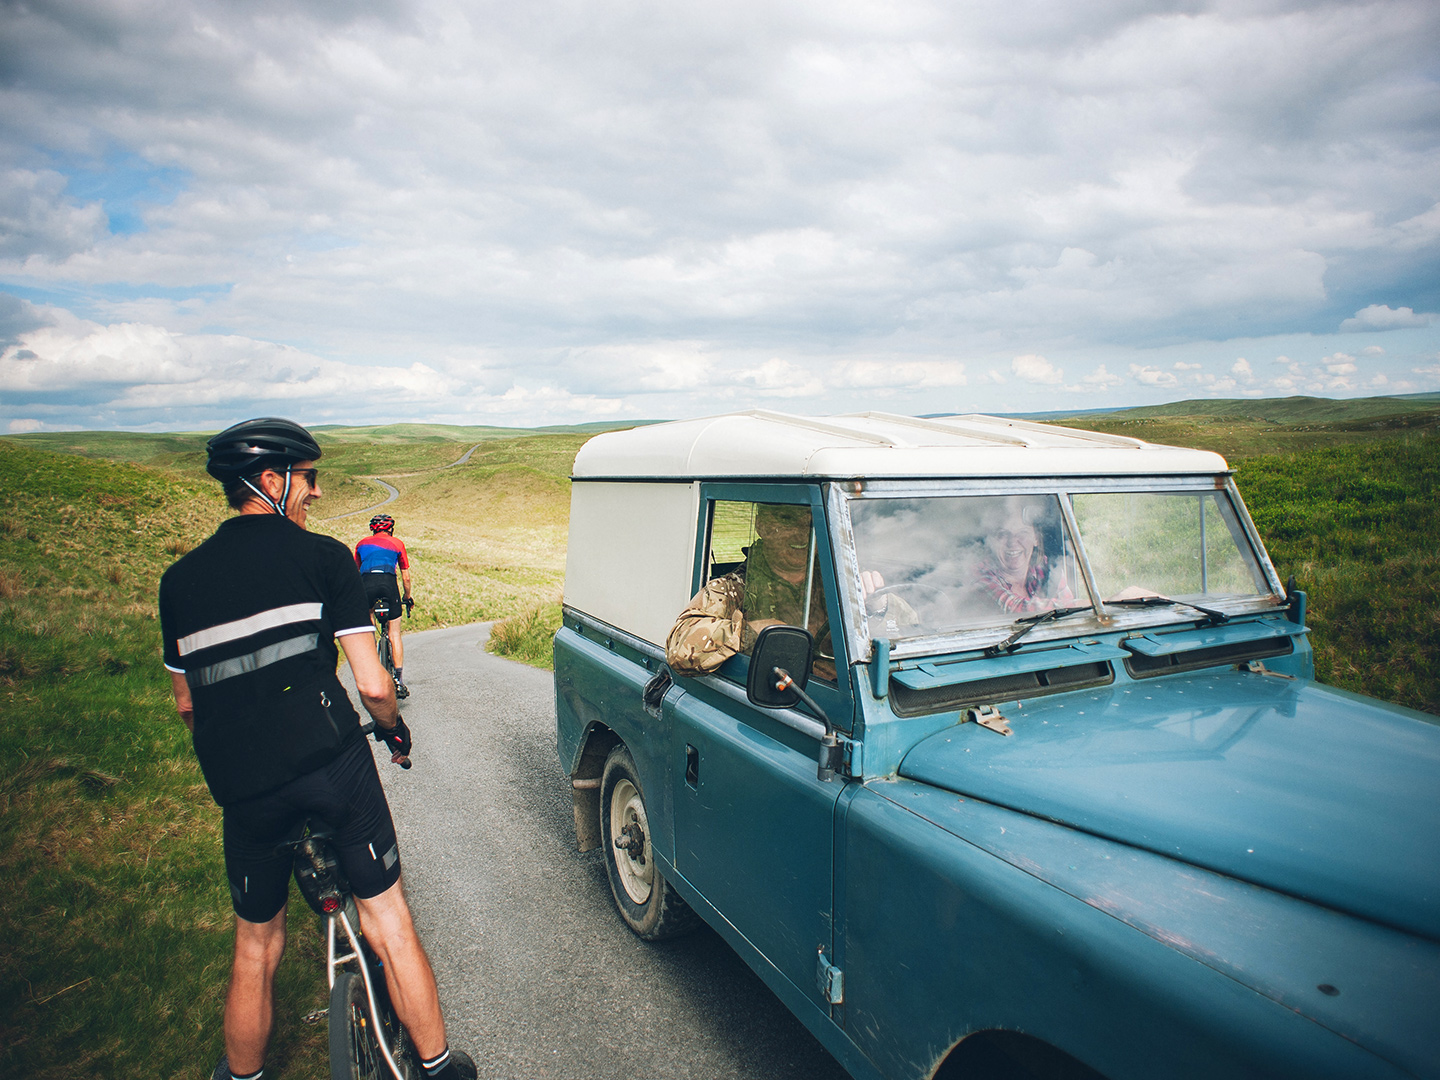
You’re out for a ride with your crew and you want to capture images that will spin you back in time and pull you into the in-the-moment feeling. Easier said than done. So, just how do you capture the essence of a ride in a few shots? Wayne suggests capturing a variety of images that give a picture of the whole experience: the pre-ride prep, saddling up and pedalling off, the mid-ride heckling and the post-ride banter, as well as the riding of course.
‘If you know you’ve got the group, the location and the landscape in the bag, then you’ve got a bit more scope to get artsy,’ Wayne says. ‘So play around with the shutter speed if you can and try and get some panning shots, some motion blur. It’s nice to have a sense of motion or people’s attitudes or atmosphere.’
12. Try to be invisible
‘Most people hate having their photo taken,’ Wayne explains, ‘or at least posing for photos, or that feeling like they’re being watched, so it’s important to be yourself and not interfere too much with what’s going on. If you’re in the moment, and you just happen to stealthily have your camera out, that’s probably going to give you the most interesting natural shots that reflect what’s actually going on.’
13. Don’t get carried away with photo editing
Once you have your shots, you can then edit them with any number of apps and programs. It can be tempting to doctor up every photo, however, Wayne warns against going overboard. ‘I don’t tend to do too much because it can look quite obvious and there’s nothing worse than seeing really over sharpened images,’ he says. ‘I do as minimal as possible because if you’ve got it right in the first place, you don’t need to do much editing. With mine, I’ve got a preset I’ve developed over the years that add a little grain, adjusts white balance and adds a little vignette.’ Your best course of action is playing with your camera settings to develop a look you like then sticking with it.
14. Experiment and have fun
The great thing about digital photography is you don’t have to worry about running out of film or shelling out cash every week to cover processing costs, so you can go wild! Wayne sends us off with this bit of advice: ‘Chase good light, experiment with shutter speed and aperture, play around. You’ll find such joy and pleasure in taking pictures and capturing memories.’
And with that, we encourage you to saddle up and get snapping!
Want to learn more about Wayne Reid? For regular updates and inspiration follow him on Instagram.

About the Author: Trek
Our mission: we build only products we love, provide incredible hospitality to our customers, and change the world by getting more people on bikes.

