So, you have your bike. You have your bike trainer. Now it’s time to set up your pain cave (cue thunder and lightning).
Don’t worry—just because it’s called a “pain cave” doesn’t mean it has to suck. In fact, we’re here to make sure it doesn’t.
Let’s get started.
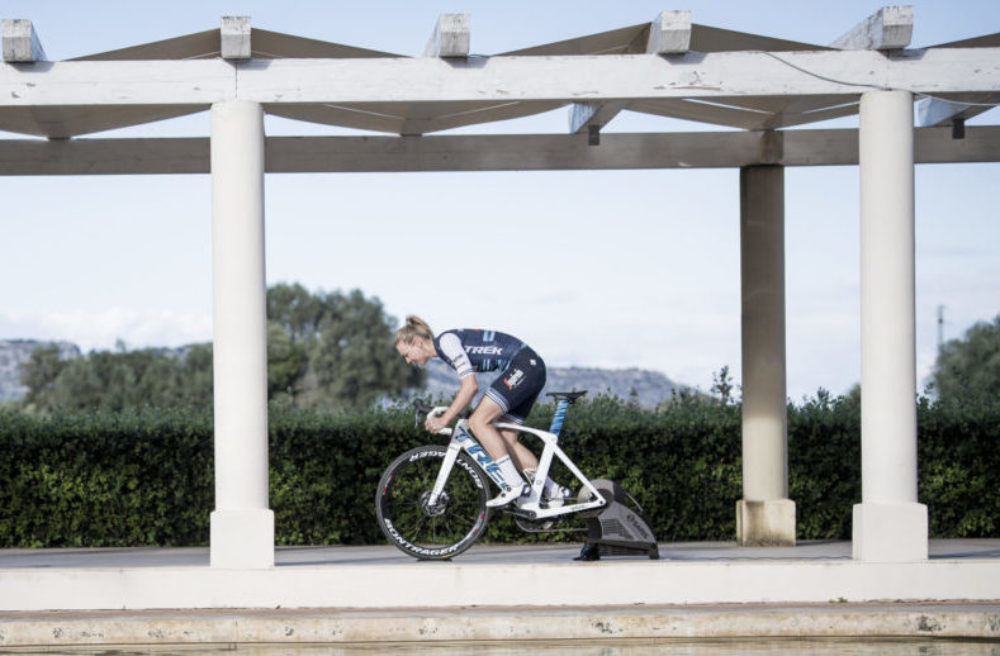
First, you need to decide where you want to put your trainer. Do you have a spare room or a basement you can dedicate to your setup? Are you gonna be spinning in your bedroom whilst staring longingly at your bed? Will you and your roommate be racing side by side in your dining room-turned-Tour de France course?
Wherever you plan to ride, you’ll need to dedicate a 6×6 foot space for your new setup. Make sure it’s somewhere you’ll want to spend time, perhaps near a window for a little natural light.
Now that you’ve decided where you’re going to spin, lay out your trainer mat to protect your floors and help muffle the sound of your workout. A trainer mat is more of a want than a need, but we recommend the Wahoo KICKR Trainer Floormat if you opt for one.
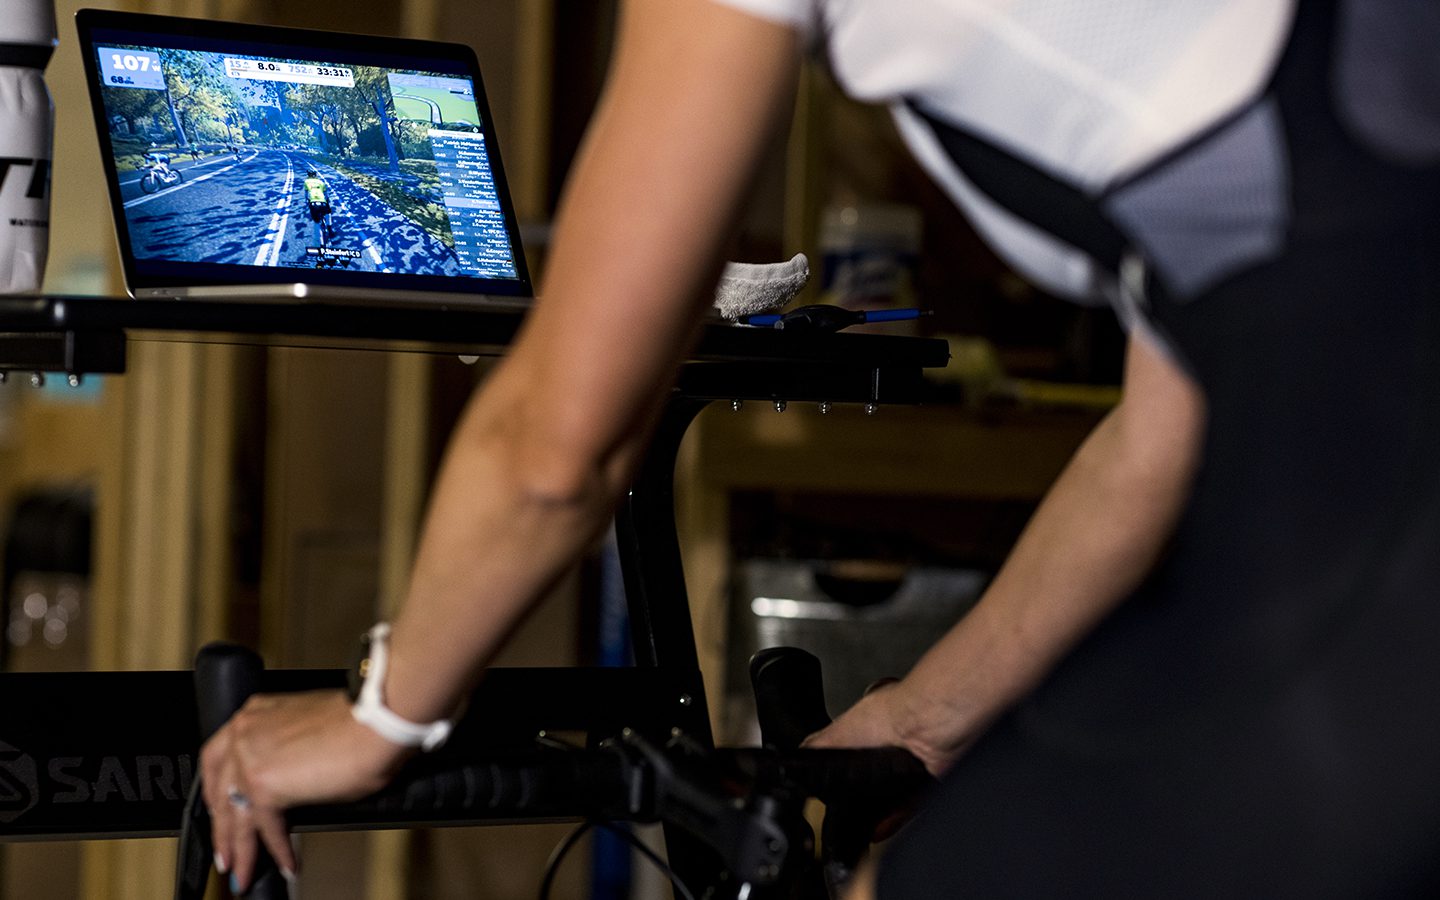
Next, decide how you’re going to make indoor riding more fun. We suggest switching on some MTB films to keep stoke high while you spin, so make sure you’re close to an outlet or a screen. If you can ride in front of a TV, that’s great! Otherwise, you can always set up a stool or a small table for your laptop, too. This is also the ideal spot if you have a smart trainer and want to do a little virtual reality training.
You’ll probably want to set up a fan right away, too. You’ll be generating a lot more heat than you might expect when you ride inside (this is our way of saying you’re gonna sweat a lot). The Wahoo KICKR Headwind Bluetooth Fan is a great choice as it’s designed specifically for indoor cycling. You should also grab a towel or two and place one under your trainer and another within reach.
All that extra sweat means hydration and nutrition are extra important. For longer trainer rides you should plan ahead with a mix of bars, electrolyte chews, and any other easily digestible snacks. Again, keep them within reach or in your jersey pocket for easy access while you train.
You’re almost ready to ride! But before you do, remember—indoor training comes with its own set of obstacles. You may not have to check for cars or pedestrians while you ride, but you will need to take some other safety precautions.
Make sure to double and triple check your bike’s stability before getting on and starting your workout. It might sound silly, but we’ve seen more than a few people (professional athletes included) fall off their trainers if they aren’t secured properly. You’ll also want to keep little kids and furry friends in separate rooms. Fingers and tails can get stuck in spinning wheels, so plan accordingly.
And just like that, you’re ready to roll—’er, we mean spin? Semantics aside, we hope you have an awesome ride!
1. Let’s get started
Decide where you want to put your trainer. Wherever you plan to ride, you’ll need to dedicate a 6×6 foot space for your new setup. Make sure it’s somewhere you’ll want to spend time, perhaps near a window for a little natural light. Consider adding a trainer mat. While this is more of a want than a need, it will help protect your floors and muffle the sound of your workout.
2. Make it fun
Next, think about how you’ll make indoor riding more fun. If you can ride in front of a TV, that’s great! Otherwise, setting up a stool or small table for a laptop to put on your favorite show or movie while you spin. This is an ideal spot if you have a smart training and want to dive into virtual reality training.
3. Ventilation is key
When you spin indoors you’ll be generating a lot more heat than you might expect. Set up a fan to help yourself stay cool, and grab a towel or two. Place one under your trainer, and another within reach.

Protect your floors and muffle loud noises when you train with the Saris Trainer Mat.
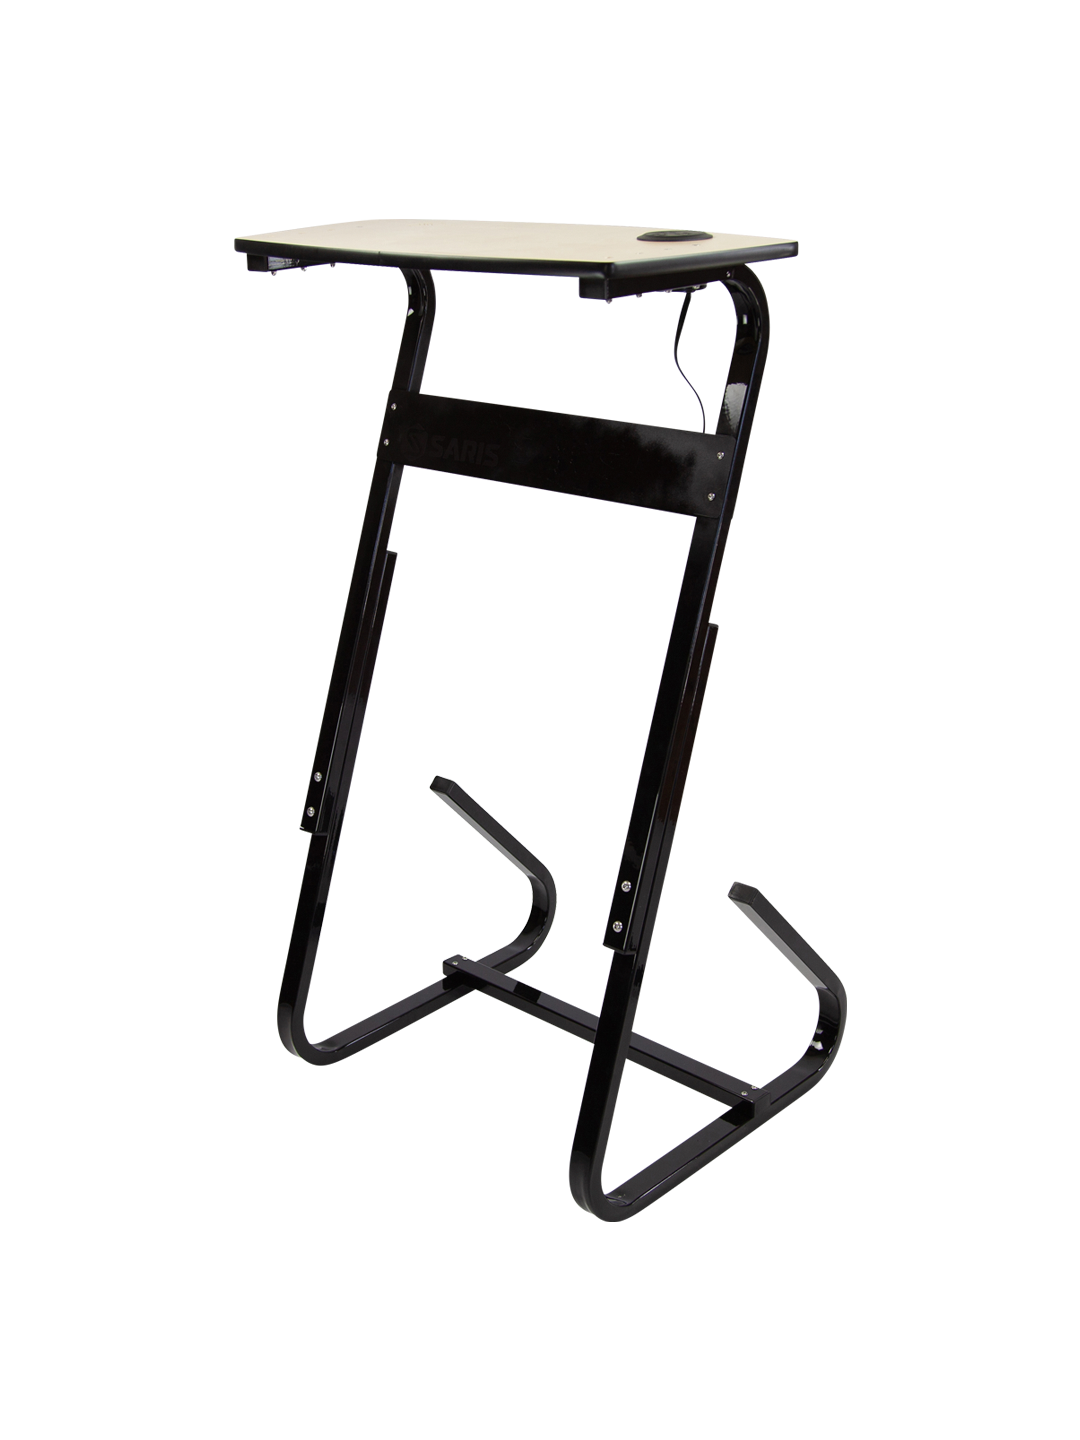
Streamline your setup and stay entertained while you ride with the Saris TD1 Trainer Desk.
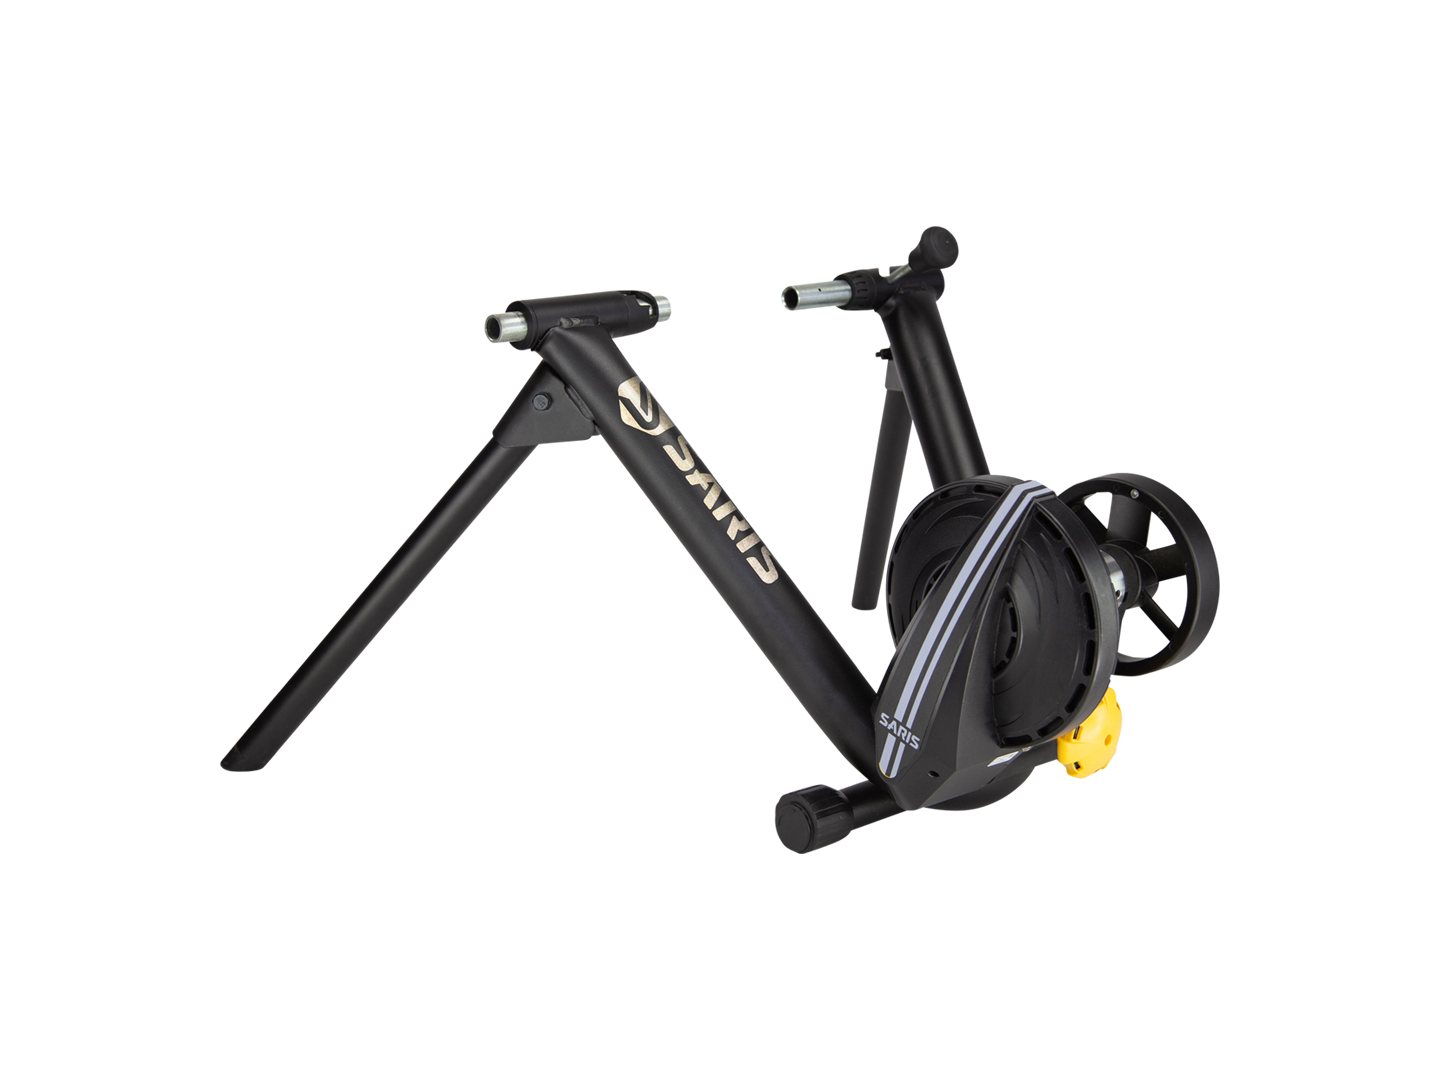
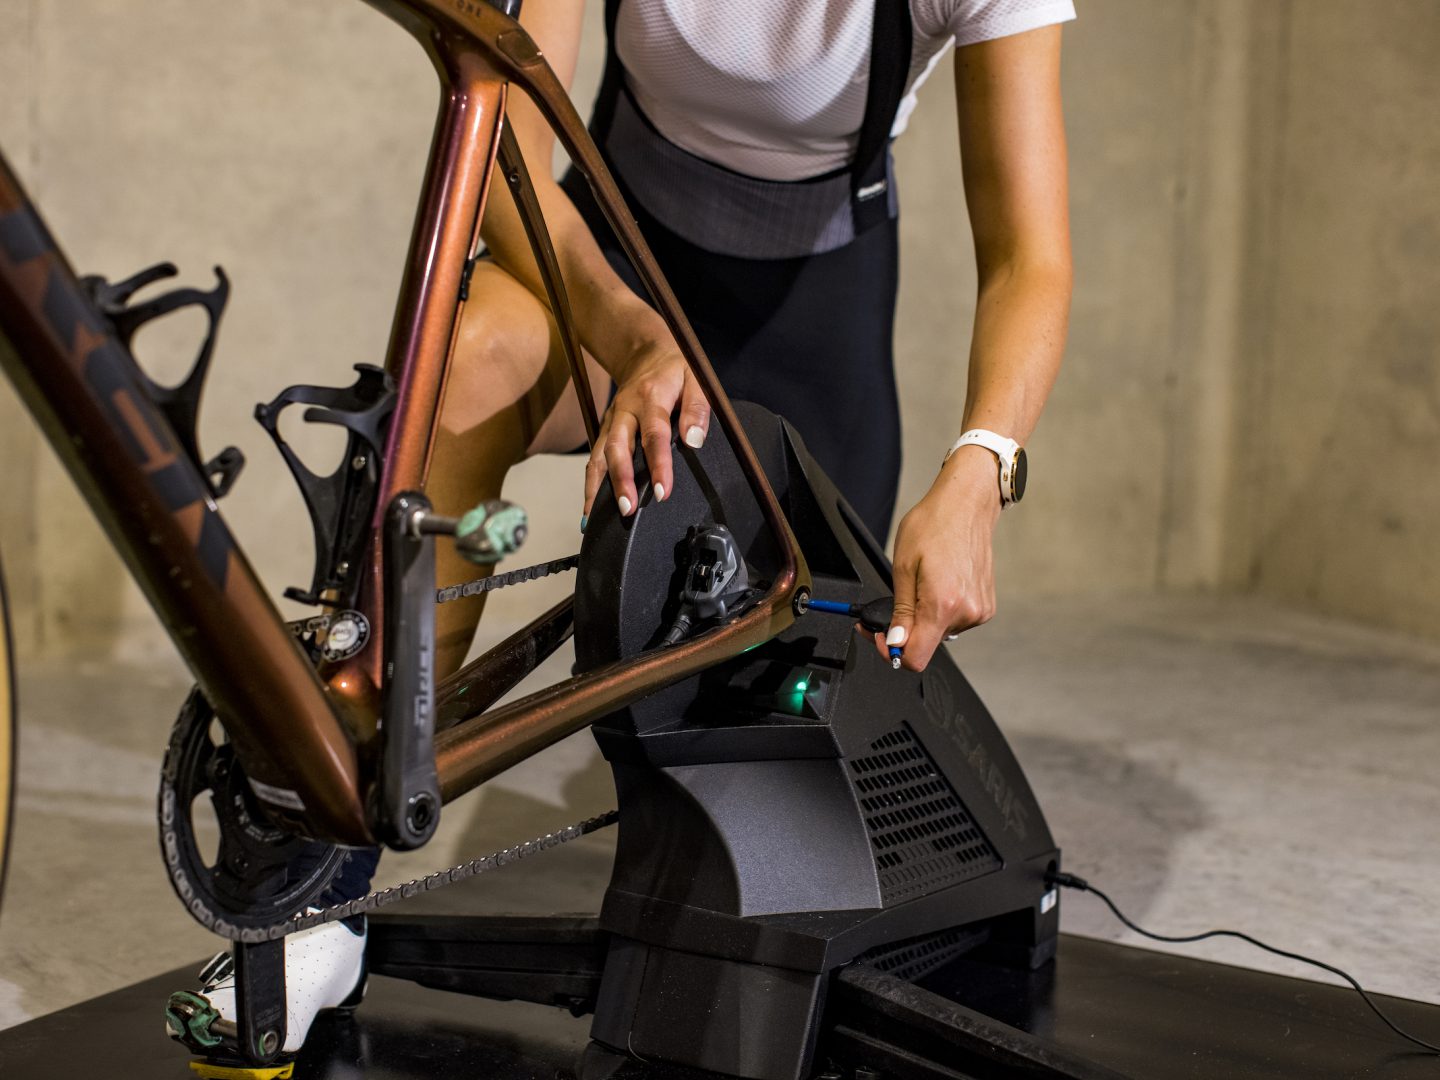
The Saris M2 Smart Trainer is ready for group rides in Zwift, climbing the Dolomites in Rouvy or simply hammering out a sweat session
4. Hydrate and go
All that extra sweat means hydration and nutrition are extra important. For longer trainer rides you should plan ahead with a mix of bars, electrolyte chews, and any other easily digestible snacks. Nuun Hydration Tablets are a great addition to any workout. Keep them within reach for easy access while you train.
5. Ride safely
Finally, remember to take some safety precautions. Double and triple-check your bike’s stability before getting on and starting your workout. You’ll also want to keep small kids and furry friends in a separate room. Fingers and tails can get stuck in spinning components, so plan accordingly.
And just like that, you’re ready to roll—’er, we mean spin? Semantics aside, we hope you have an awesome ride!
Bike trainer buyer’s guide

About the Author: Trek
Our mission: we build only products we love, provide incredible hospitality to our customers, and change the world by getting more people on bikes.