We all wish we could wake up in the morning and set records on the trail, but in reality, improvement takes time. But if time isn’t on our side, is it possible to get better at riding over a week?
While some riders swear by their lucky socks to speed up on race day, we can’t consistently rely on a bit of superstition to ride faster, and would fare better if we put in months of commitment to reach the podium. But if time is of the essence, and you put focus in the right place, there’s a strong chance you can make small gains over seven days. We’re tuning in with Pinkbike’s Christina Chappetta @cchappetta1 to learn just how much improvement can happen when we dedicate ourselves to building techniques, and what areas we should focus on to get those gains when time is short and speed is the goal.

How to ride faster in a week
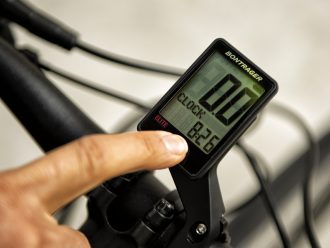
First things first, you’ll need to be able to measure if you’ve become faster, which means you’ll need to set up an experiment of sorts to determine if your fastest speeds change over time. Follow the exercise below to record your current speed, and log your progress at the end of the week.
1. Pick a designated trail to mark your progress on.
The key to making measurable gains over a week is to have a base and stick with the experiment all the way through. You won’t be able to measure if you’re riding faster if you’ve moved to a different trail, so be sure to stick with the same trail throughout the week.
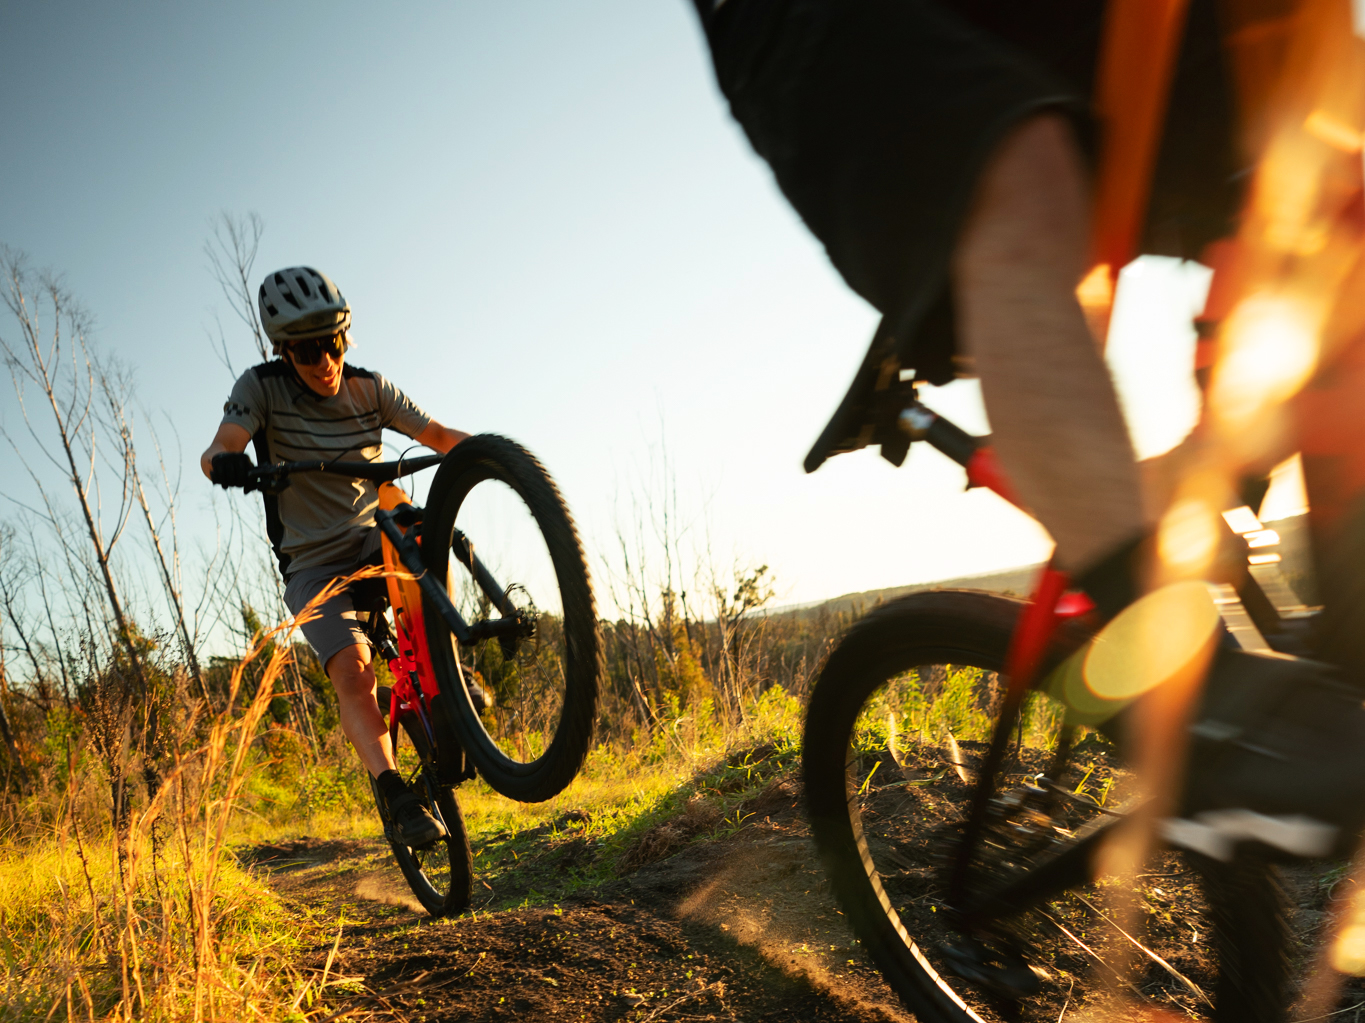
2. Bring a buddy
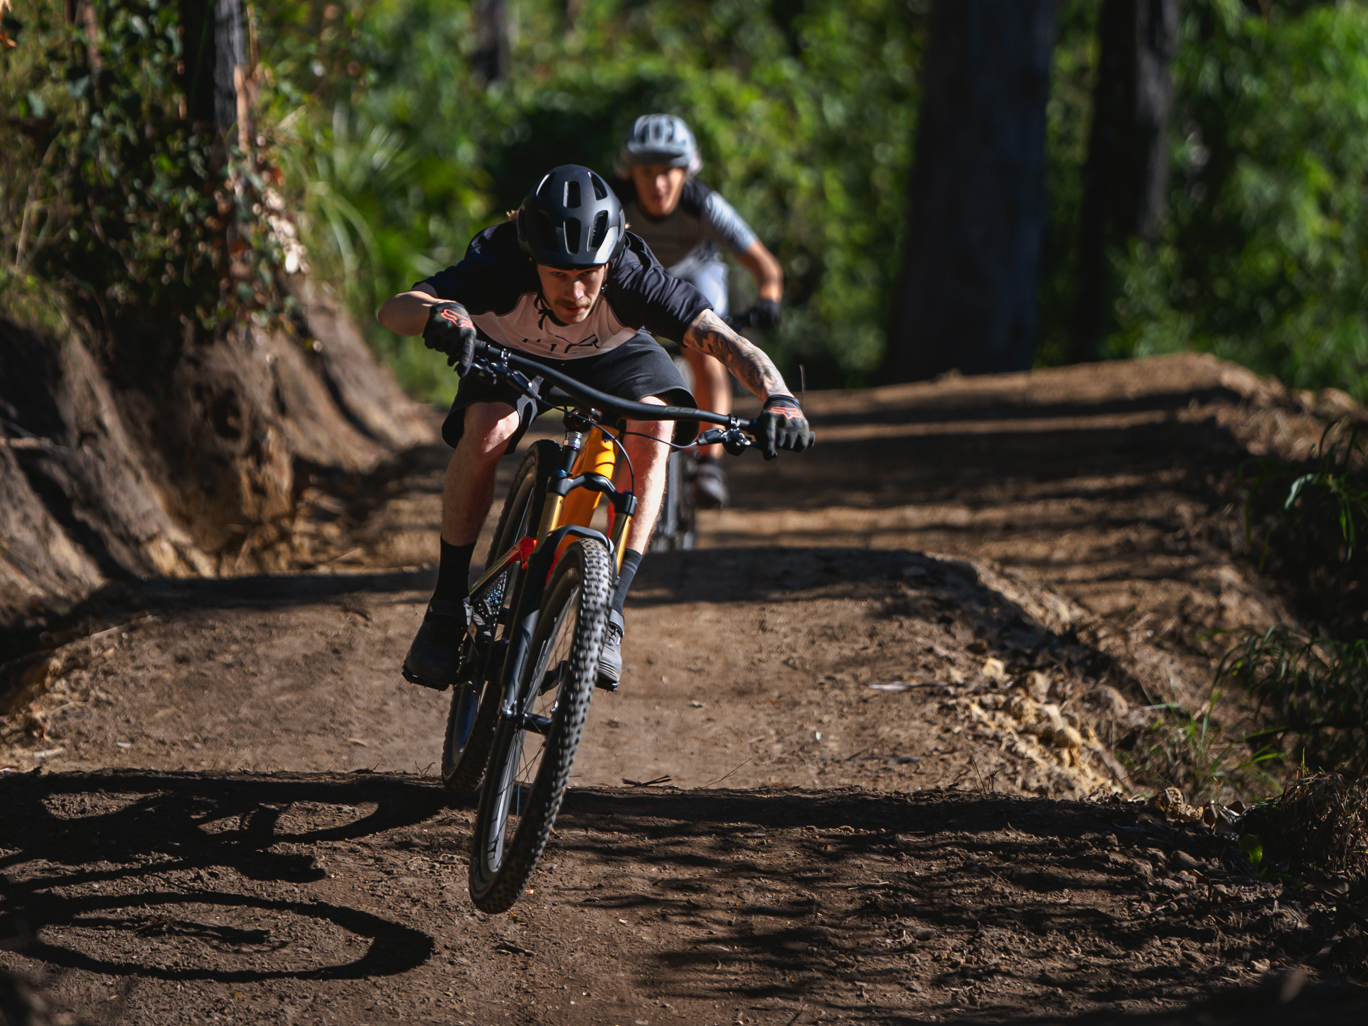
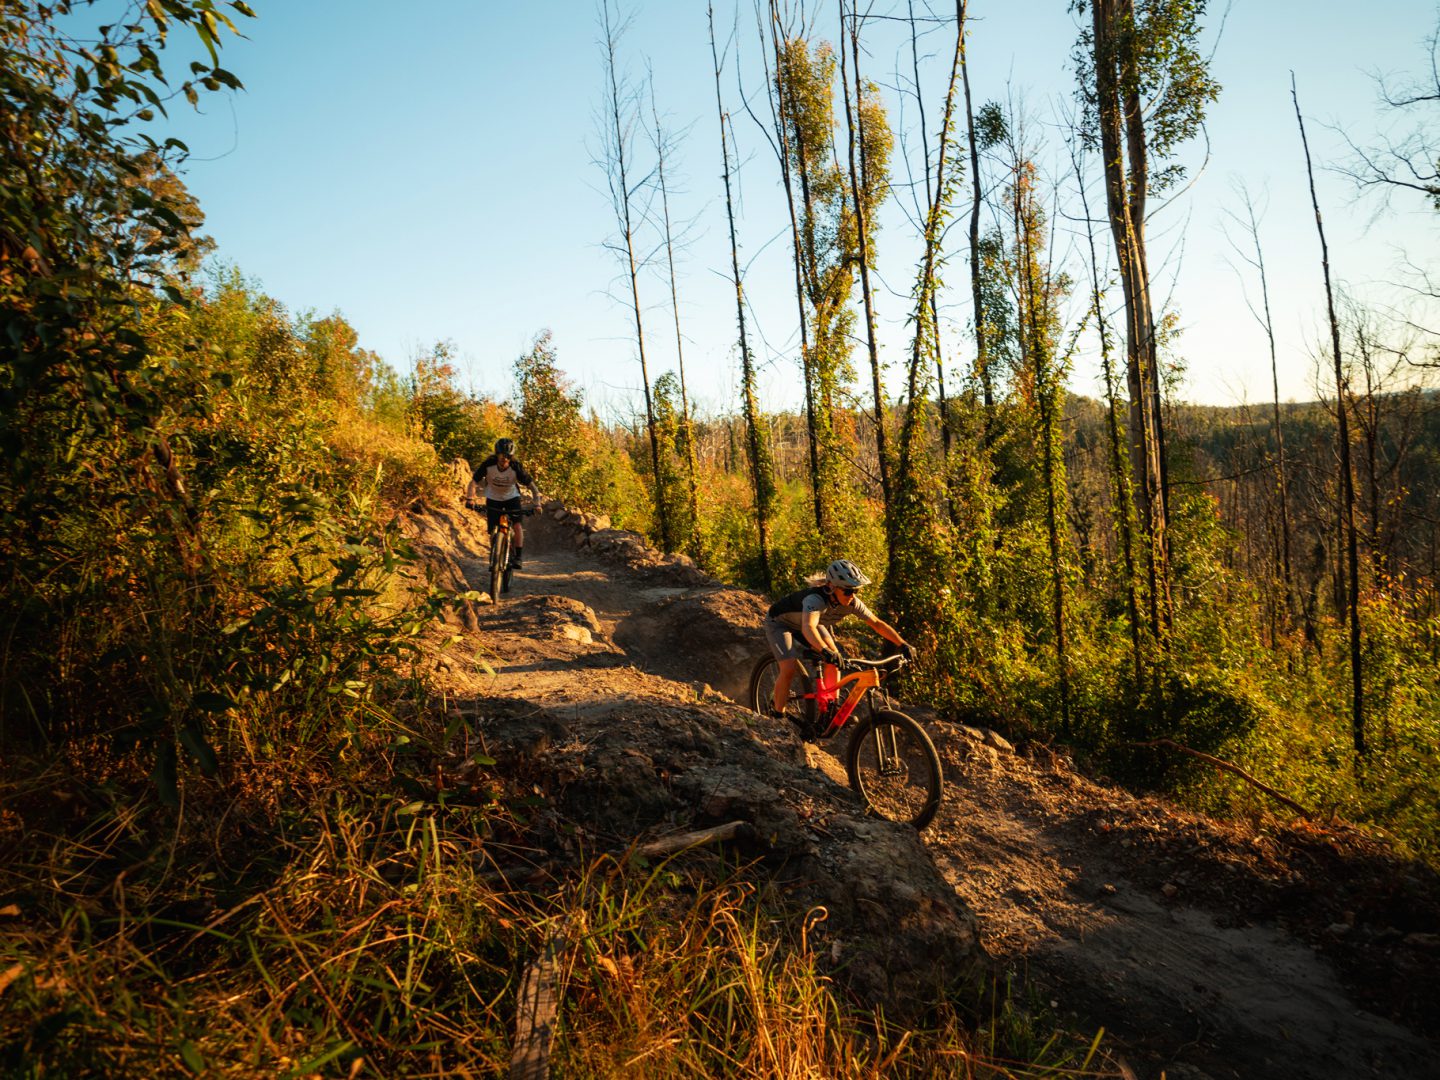
The best way to get better on the bike is to have some outside perspective. This means riding with someone who’s a bit faster than you and has the insight to find the better lines and techniques to get through parts of the trail that are particularly hairy.
But there’s more to it than just snagging some tips from friends. Riding conditions can alter our speed drastically. If your starting day is filled with tacky hero dirt and your final day is slick and wet, it will be hard to notice an improvement in your time, and you may even see a slower end lap. By riding with a friend, you can find a more accurate representation of your improvement by calculating your speed as a percentage of theirs – though you’ll have to do a little maths.
After each timed lap, divide your friend’s ride time by your ride time to calculate what per cent faster or slower you are than your friend. If you know you are 8% slower than your friend on day one, it will be easier to see if you made gains on them over the week, even if the conditions change.
Here’s a quick formula to calculate your speed as a percentage of your friend’s speed:
Your friend’s time in seconds= X
Your time in seconds= Y
The difference in time = Z
Formula: X/Y = Z
Example:
Your friend’s time = 97 seconds
Your time = 103 seconds
97/103 = 0.94
Move the decimal to the right twice to change your decimal to a percentage, and you’ll find your speed is 94% of your friend’s speed, or in other words, you are 6% slower this time around.
Why is this important?
We know that riding conditions can change, but the difference in speed between you and your friend is an honest reflection of your speed. If conditions are different in a week, this will impact riding for both you and your friend, but if you are able to shrink the gap from 8% to 6%, you’ll know that your riding has become faster, and it’s not all chalked up to the hero dirt.
3. Set the bar
Take a practice lap with your friend to get to know the trail before ripping it up at your peak performance. Once the practice lap is complete, give the trail a go. Ride your hardest and time your lap aiming for your top speed. Record your time and use the formula above to calculate your speed as a percentage of your friend’s speed. Keep your notes so you know what your base was when you head out again next week.
4. Break it down
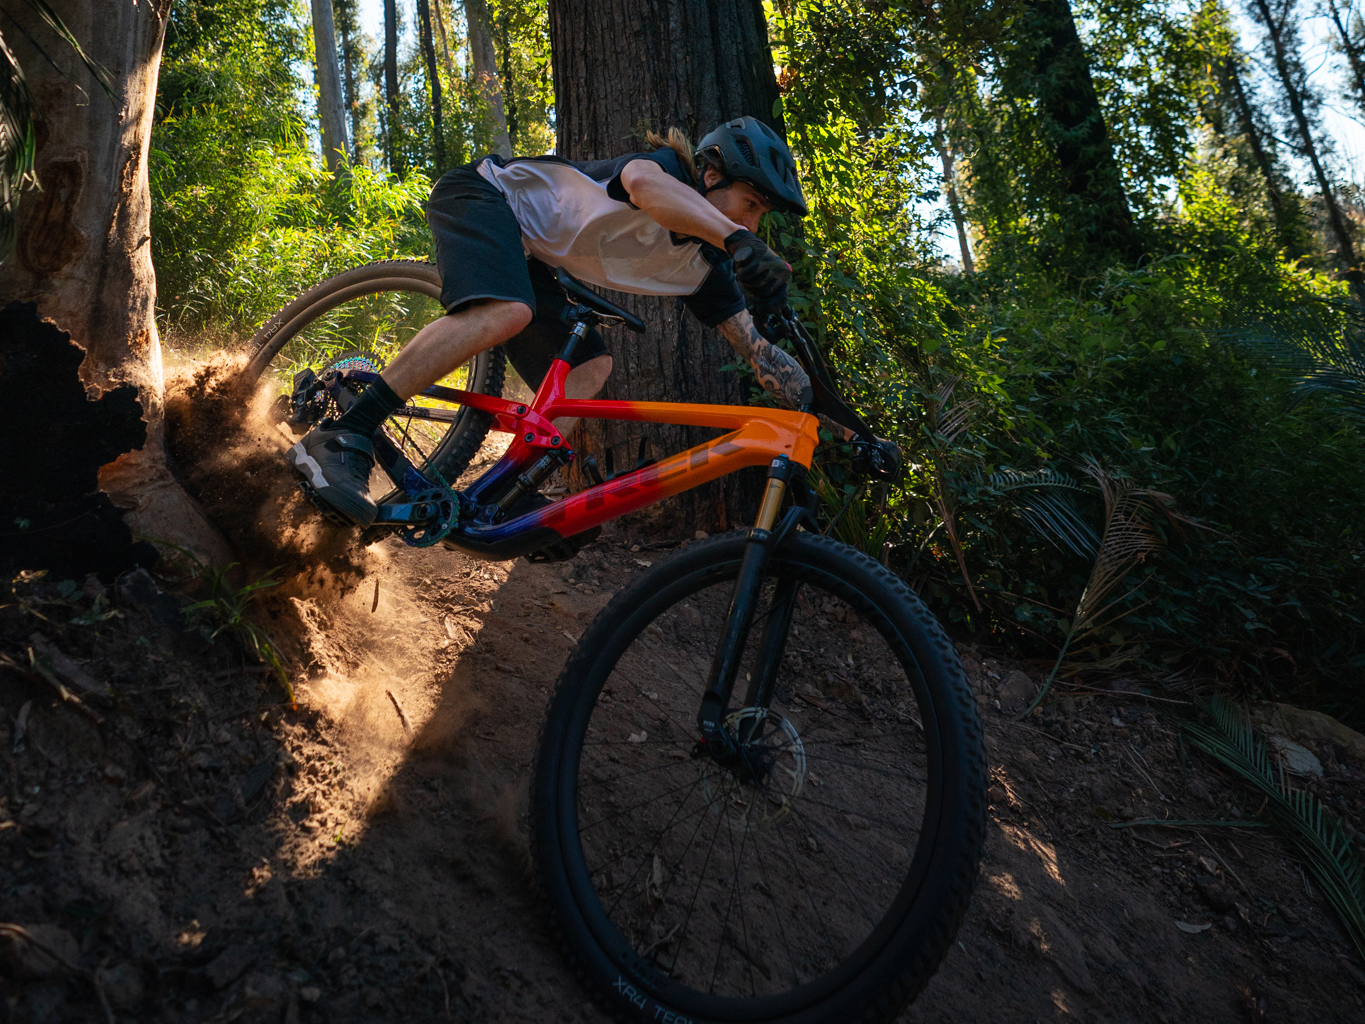
It can be difficult to narrow down an entire trail when looking for where to improve, but piecing it into digestible bites makes it simple. Think about the trail as four or more segments, depending on its length, with defined starting and stopping landmarks (like a zebra crossing, a crooked tree or trail features) so you can really think about where features are located, what comes before and after them, and where your riding really excelled or could use a little work.
5. Room for improvement
If you have access to a GoPro or other trail camera, use it to capture footage on every lap – this will help you get an idea of where you’re losing speed, where you’re hitting that double just right, and where you should practise a bit more. If you don’t have a camera, no worries, just do your best to make a mental note of what the ride feels like or ask a friend to watch your riding from behind. Note how you feel and how others perceived your riding.
Did the top section feel extra rough and jarring?
Maybe you locked your elbows out during a rock garden instead of flowing with the trail?
Not sure where the best line is through the rooty sharp left turn?
Make notes of the areas that caused hang-ups, and ride them a few times. Try following your friend through these sections once or twice so you can observe their line choice and how they handle the terrain differently. Take turns riding in front or behind, so you can try following your friend’s line, or get some advice and perspective as they observe your riding.
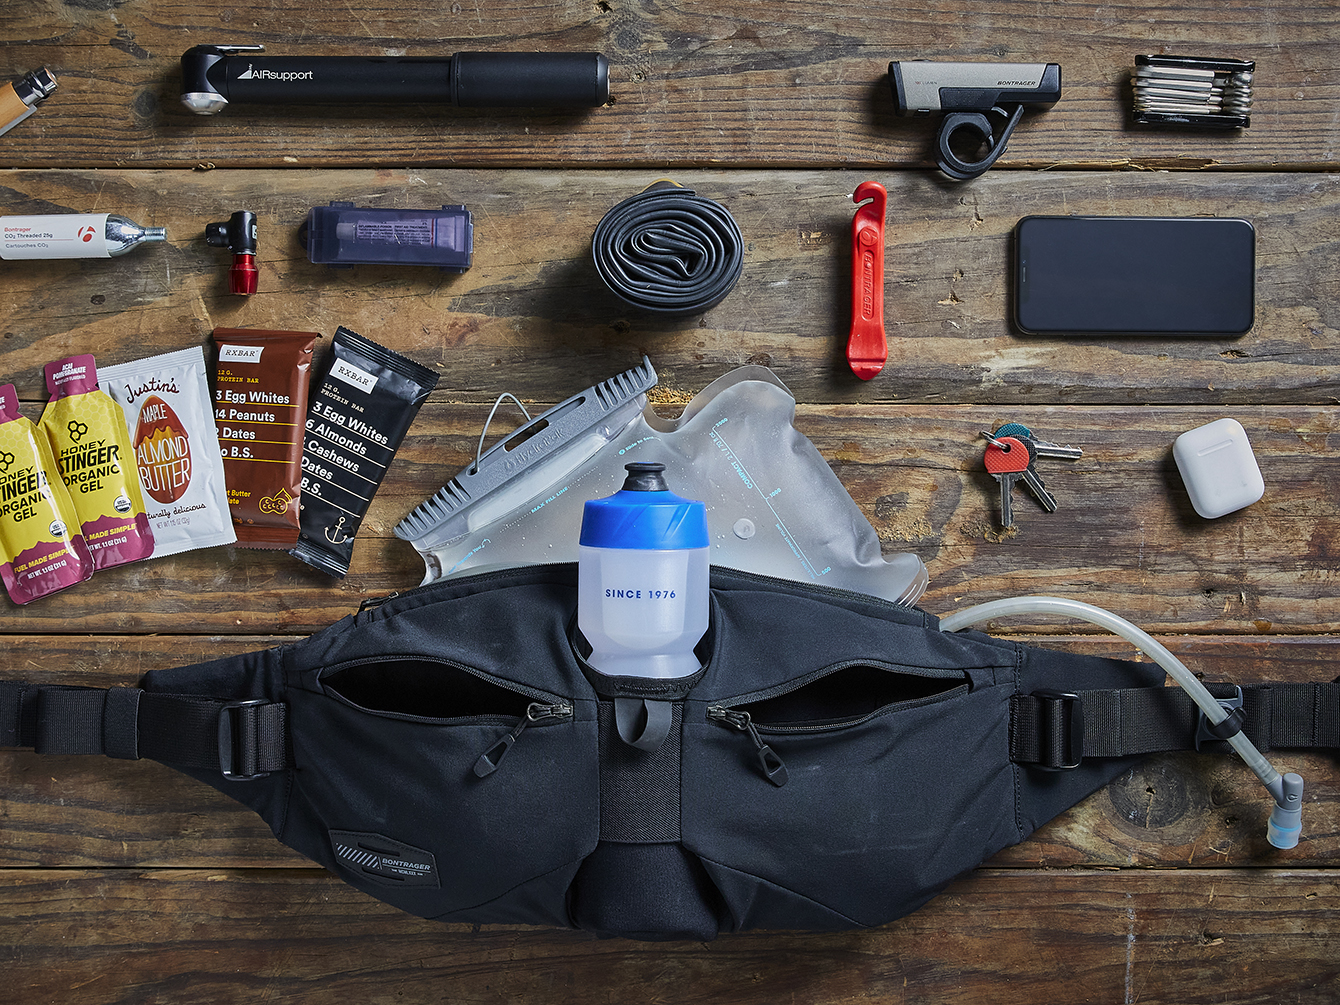
The Rapid Pack Hydro lets you carry plenty of gear and hydration for blasting through laps and boosting your speed on the trail.
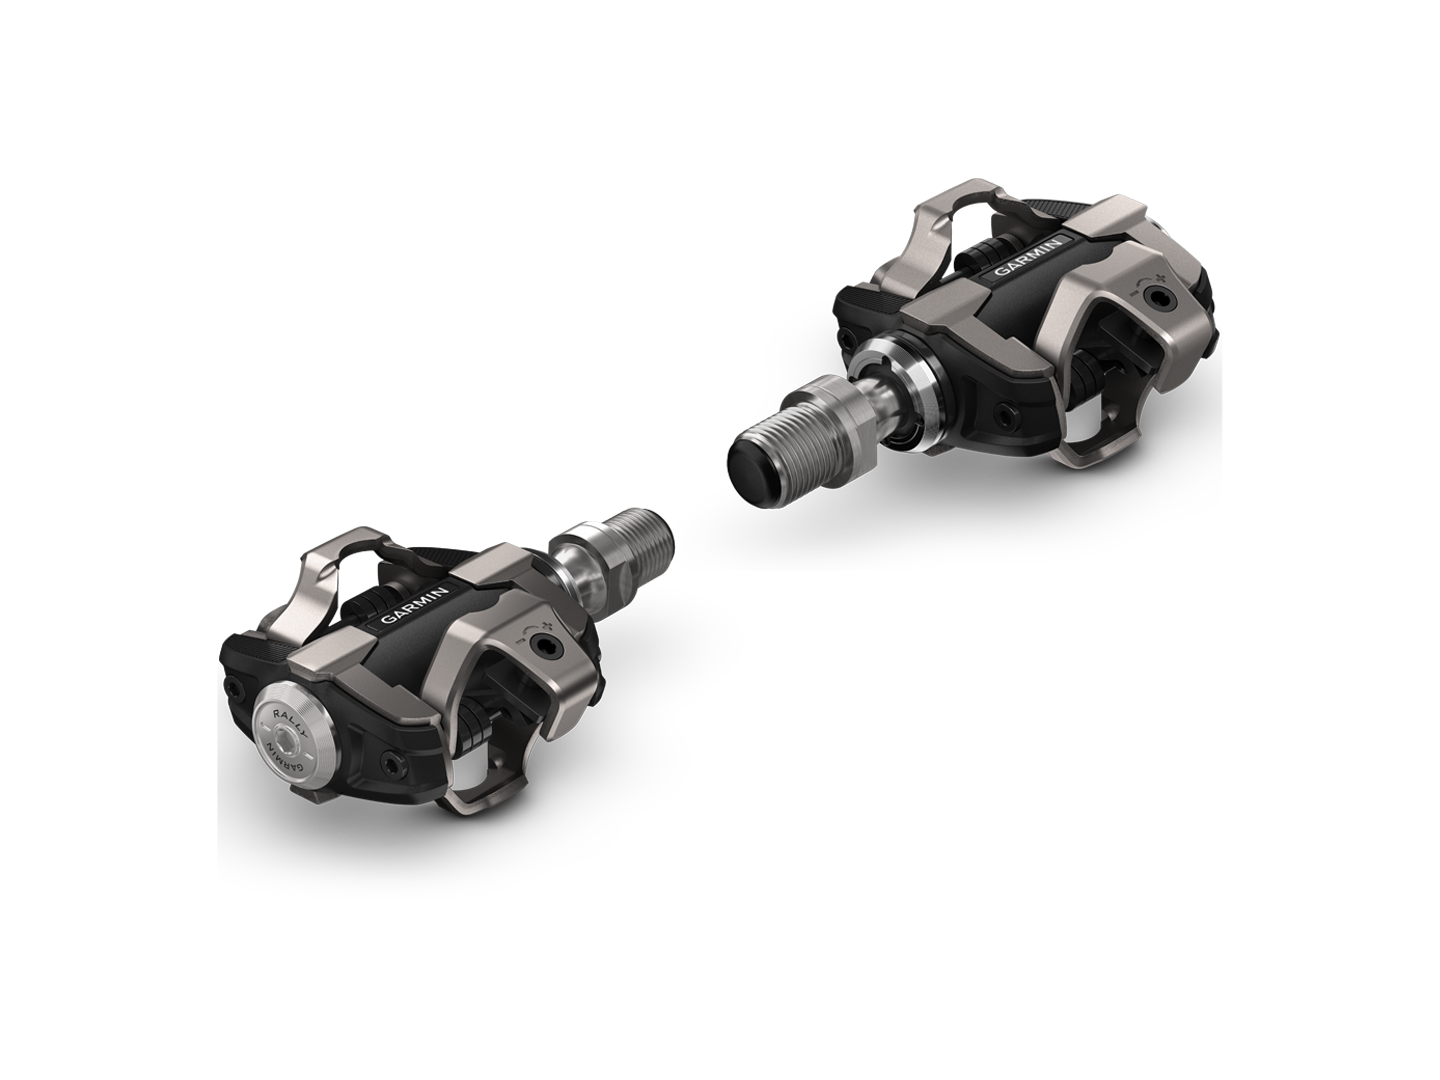
Get real data as you improve with Garmin Rally XC200 Dual-sensing Power Meter Pedals, built to measure total power, cadence and more.
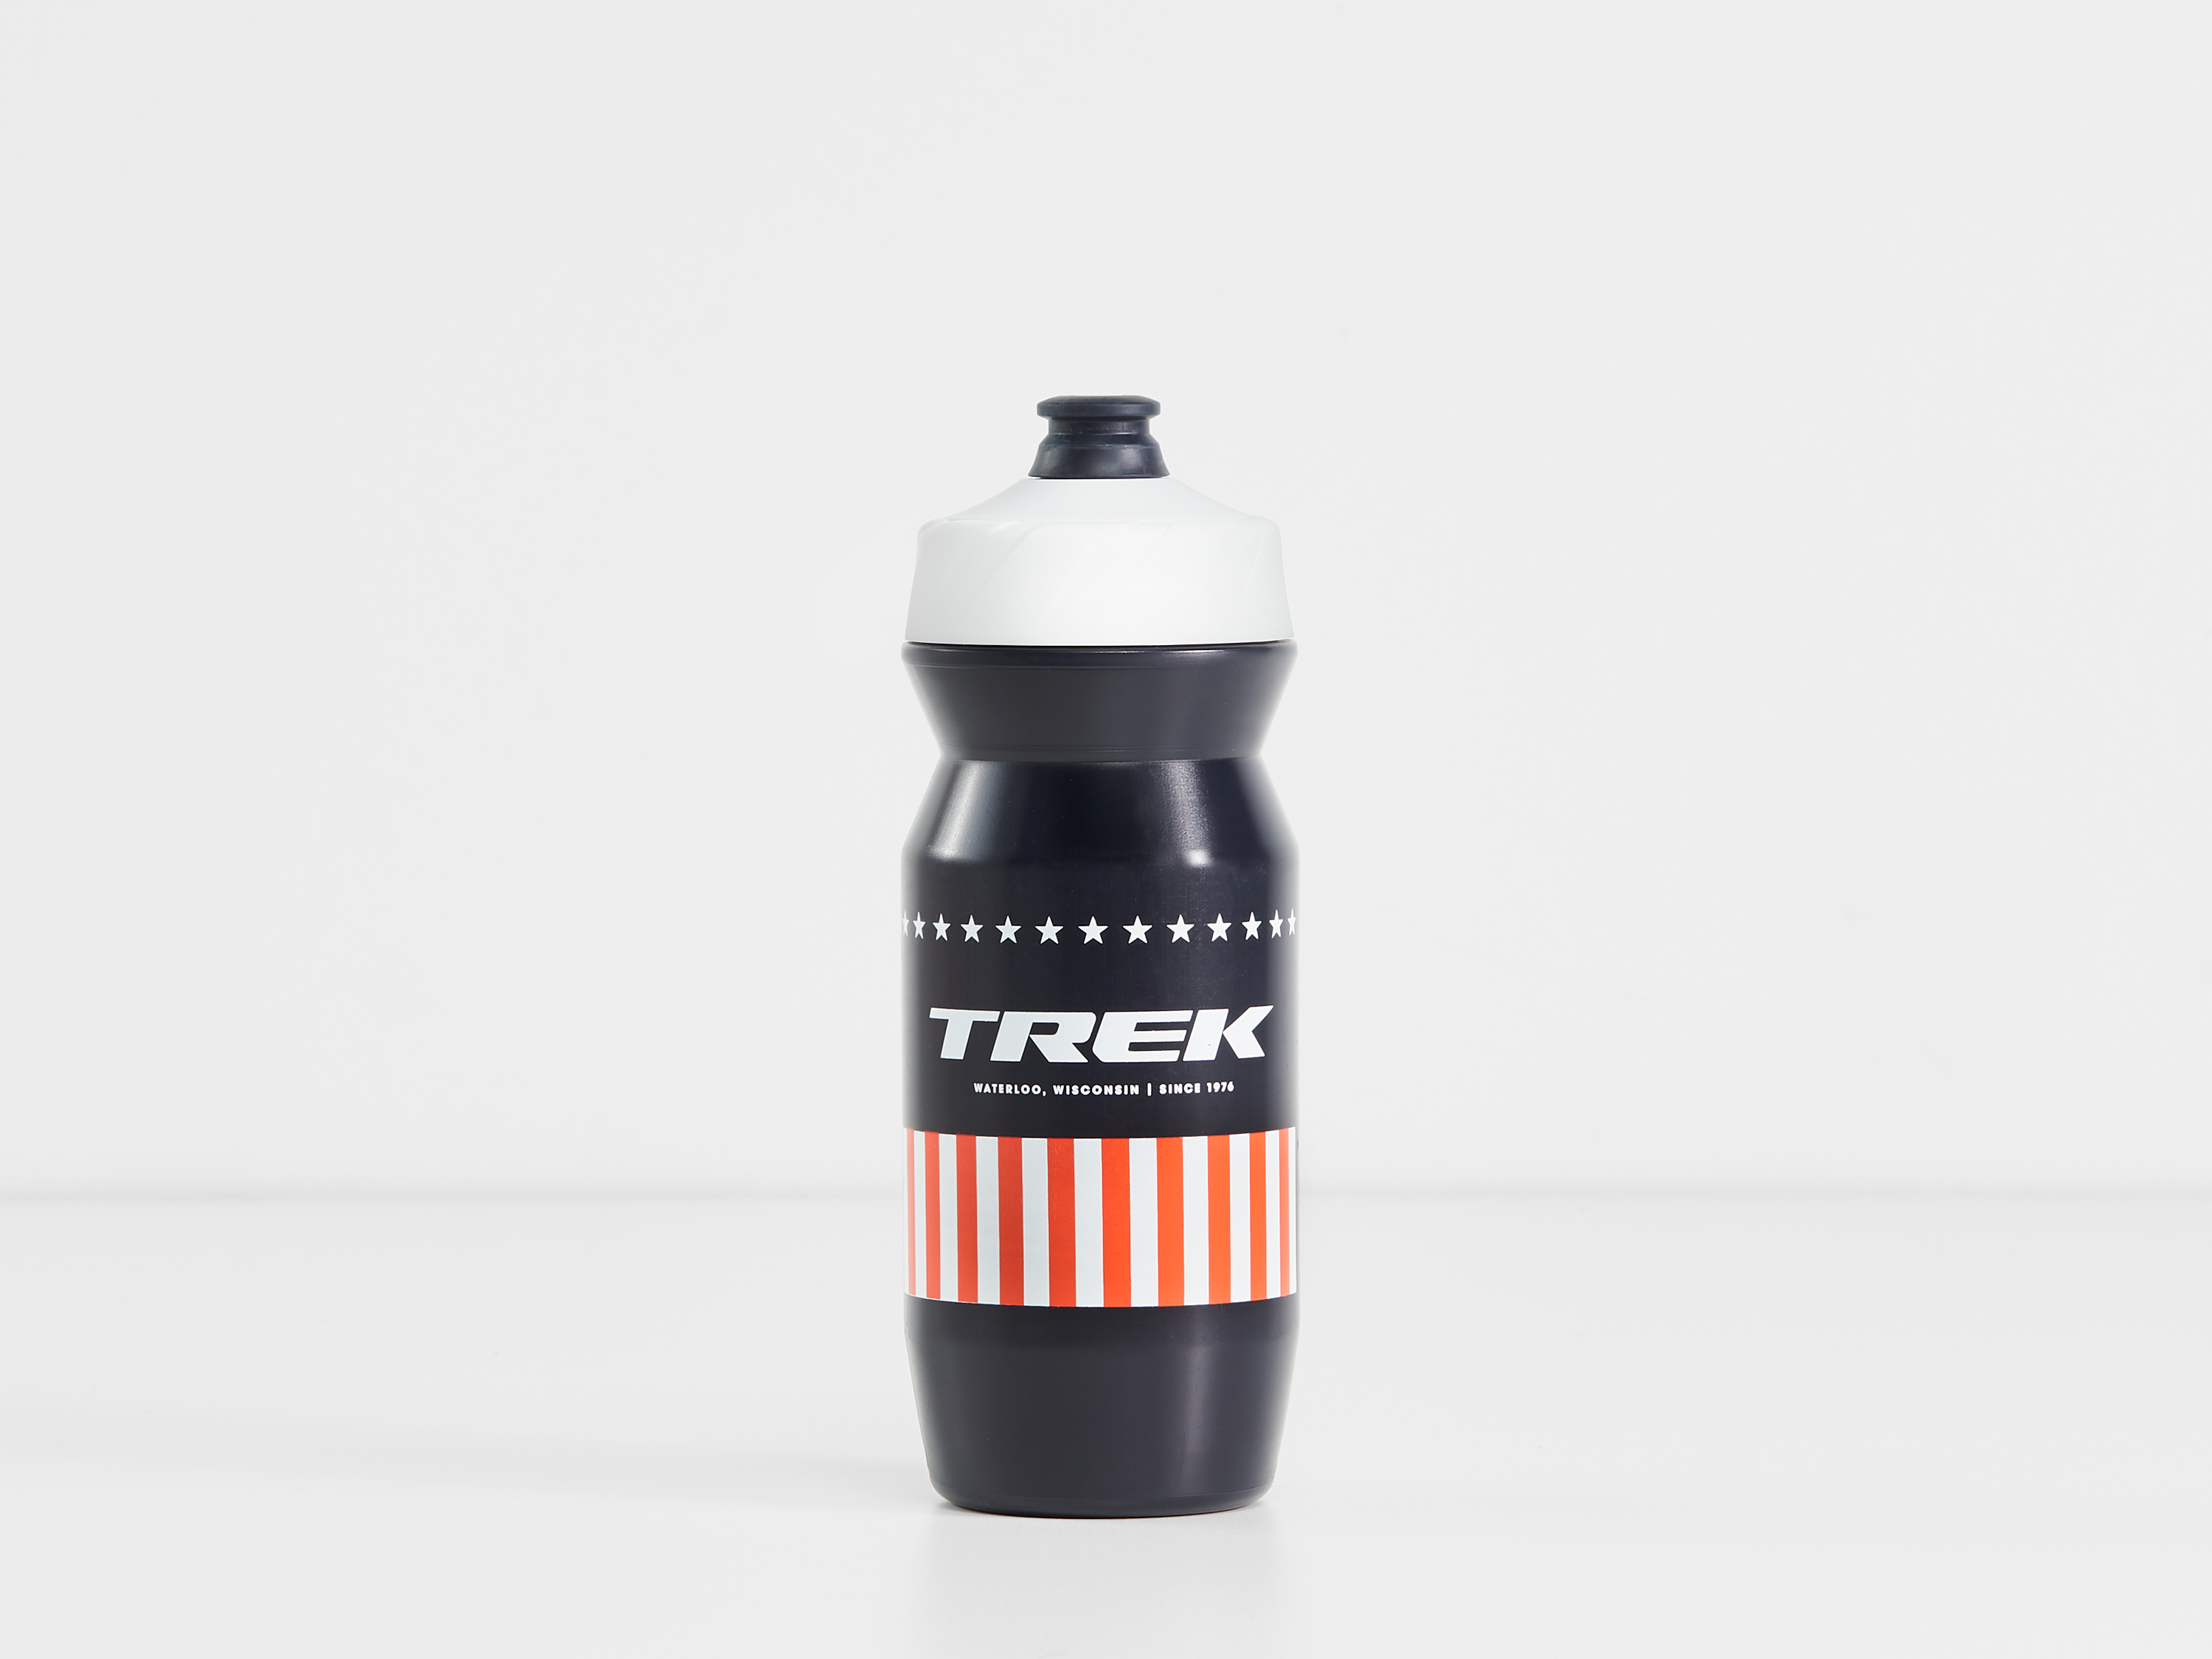
Fuel yourself, lap after lap, with plenty of hydration in the Voda Water Bottle that fits neatly in your bottle cage or in your Rapid Pack pockets.
6. Practice makes perfect
There’s a ring of truth to the old saying, and putting in miles on the dirt will make the biggest difference for your riding. Over the course of the week, work on mastering each section of the trail that caused hang-ups on your initial timed lap until you feel confident and smooth. Ride difficult features individually, then lace them together into segments and eventually bring all of the segments together for top-to-bottom laps. Don’t be afraid to hike a bike a few times to really dial in spots that are slowing you down.
7. Mark your progress, get set and go
Once you’ve put in a week of hard training and thoughtful line choices, it’s time to revisit the initial process. Give your friend from day one of practice a call, and head back to the trail. Take a practice lap to get used to the day’s conditions, and repeat the same timing process as the first timed lap. Run the numbers using the formula from Step 2 to calculate the difference between your new time and your friend’s new time as a per cent.
What did you find? Were you faster after a week?
Let us know in the comments!

About the Author: Trek
Our mission: we build only products we love, provide incredible hospitality to our customers, and change the world by getting more people on bikes.