- Gravel Riding
- 8 December, 2023
- Trek
Guy Kesteven | How to ride gravel | basic techniques Gravel riding is a fantastic way to escape traffic, immerse yourself in nature and explore places old and new. Whether you’re gearing up for your first-ever gravel adventure or planning your biggest trip yet, this guide can help you grow your skills and enjoy any surface or scenario you encounter on the road less travelled.
Get to know your bike
Before you even start rolling, take some time to get to know your bike. It might seem complicated at first, but if you just stick to the basic components below, you’ll feel more confident from the start.
Brakes
Work out which brake lever stops which wheel. Remember this might change if you rent a bike in a different country, too.
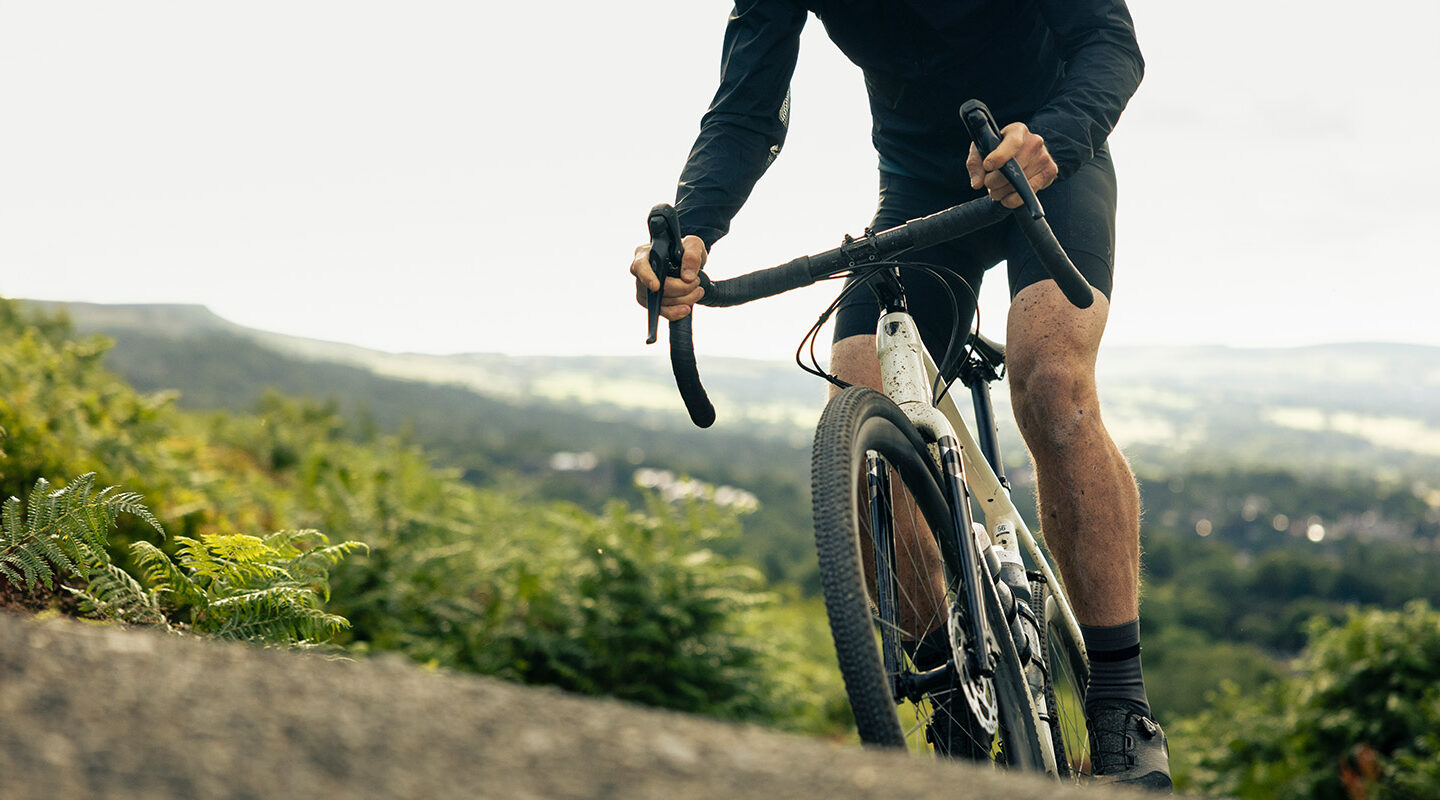
Practice pulling the levers from the top of the hoods (the rubber bits) and the curved drops of the bars. Learn how to switch between them smoothly while you’re riding.
Gears
Figure out which lever/s you need to push to make pedalling easier or harder. If there’s only one chainring at the front of your bike, this will be super easy. But two chainrings take a bit more time and mind math to make smooth shifts.
Pro tip: pedal lightly while you shift to avoid clunky or abrupt gear changes.
Tyres
Some people spend all day talking about tyres on internet forums but all you really need to know is that you’ve got enough air in them and how to repair them. Start at 40psi to be safe and ask the internet or your local bike shop for puncture repair tips.
Basic bike handling skills
Now that you and your bike are better acquainted, it’s time to learn some basic bike skills for when you’re out on the path or trail.
Braking
Gradually pull each brake until you feel your tires slowing. Too much front brake will slide the front tyre (which is bad) or tip you over the bars (which is also bad). Pulling the back brake too much will just make the back tyre skid. (This isn’t so bad, but it won’t slow you down much and it’ll make the trails sad.)
Now, practice pulling the brakes as hard as you can without making any of that aforementioned bad stuff happen. Then, practice doing it on different surfaces. That way you can see how much grip you’ll have (and where) when you’re out in the wild.
After that, practice letting your brakes go on descents and braking to bring your speed back in safely. It’ll be jerky and scary at first, but you’ll soon learn your bike feels way smoother when you’re not braking than if you’re dragging the anchors all the time. But keep in mind — if you’re ever in doubt about how fast to go down a hill or around a corner, slower is always safer.
Pro tip: Push your weight backwards as you brake so you can stop harder without getting thrown over the bars.
Cornering
Look where you want to go. It really is that simple. Sure — you can add all sorts of braking/ bike leaning/body position tricks to your arsenal, but the bottom line is that your bike will always follow your eyes.
You should go into the corner as wide as is safe (obviously don’t ride the roughest bits at the edges) so you can see as far around the turn as possible. This will also let you check if the gradient or surface changes around the corner, or if there’s something else hiding where you’re heading.
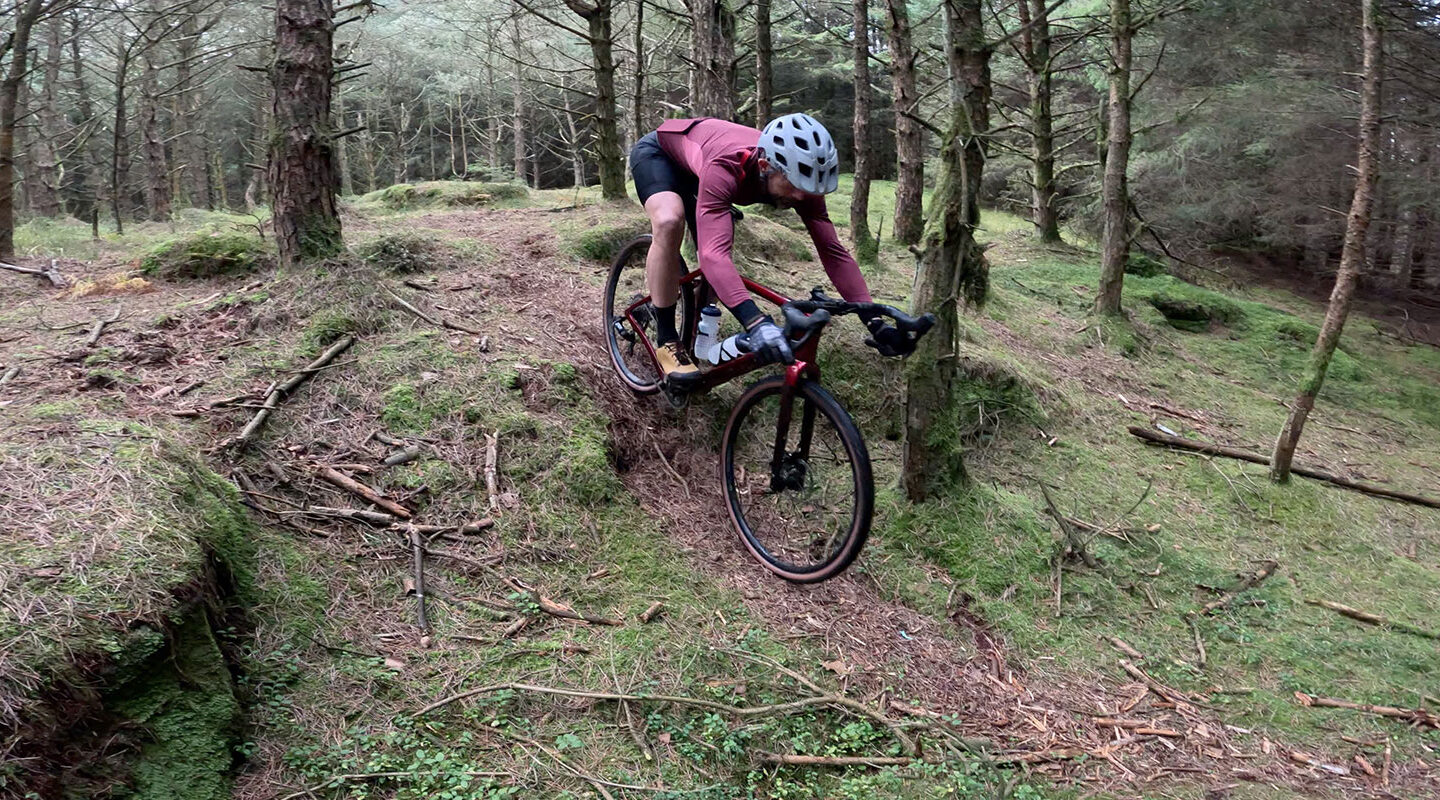
When you can see the exit point of your corner, turn the bike towards it and keep looking down the trail where you want to be. Try not to stare at a tree or the drop off the edge of the corner or that’s exactly where you’ll end up.
Pro tip: Put your outside pedal down and press your weight into it for maximum grip as you lean into the corner.
Terrain
Rocks, roots and ruts
Riding off-road has all sorts of challenges, but that’s part of the adventure. The golden rule is that the sooner you spot trouble, the more time you have to work out what to do. That means looking as far down the trail as possible and potentially slowing down to assess the situation.
As you approach a ‘fun bit’ look at the solutions, not the problem. Focus on the gaps between rocks and trees or the far end of ruts — not the actual rocks and trees, or your front wheel. Remember: where you look is where you go.
If you can’t avoid hitting a root or rock, try to lift your wheels up and over it in turn. Not a hopper? Stand up and relax your arms and legs as much as possible so the bike can bump up and over them more easily.
Pro tip: Staying loose and laughing – not stiff and stressed – will always let the bike wriggle through the rough stuff more easily, rather than smacking into everything rigidly.
Gravel, sand and mud
Gravel, sand and mud all grab your wheels or slide them away in slightly different ways, but keeping your wheels as straight as possible will help you carve through cleanly though. Again — remember to look as far ahead as possible to spot the shallowest patches and make small adjustments early on your line to keep things as easy as possible.
Pro tip: Put your weight over the wheel you want to grip most. That’s normally the front wheel in corners or the back wheel when climbing or braking.
Steep stuff
Steep climbs and descents basically max everything out. Tyres slip sooner so traction matters more, and it’s easier to fall over the front or off the back of your bike. Speeds change dramatically too, making stalling on climbs or going too fast on descents more likely than shallow grades.
Fight back by maxing out your own body movements and being extra careful with braking or pedalling. As always, looking ahead makes a huge difference so you can gear down or slow down to avoid the hurt when things get vert.
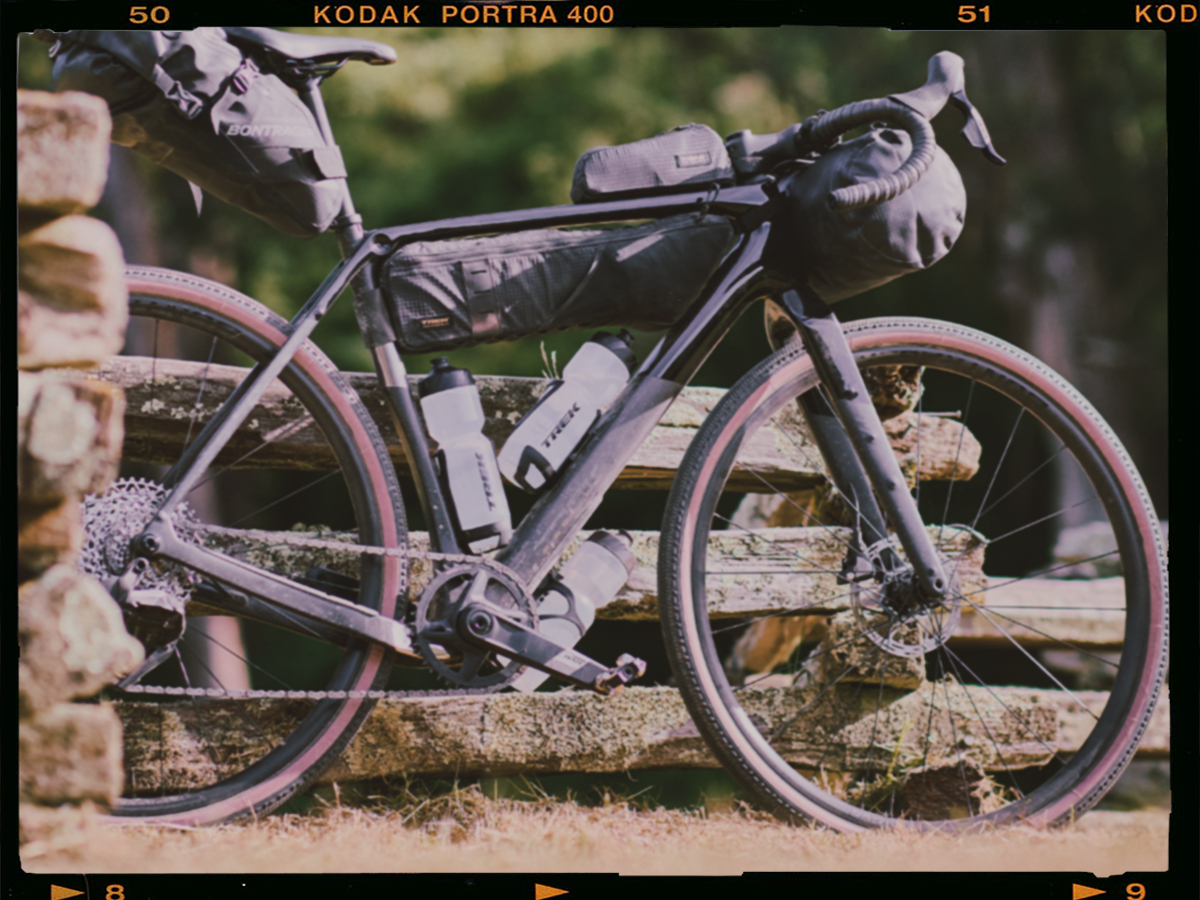
Don’t forget — if you’re riding a loaded bike, that effectively makes everything ‘steeper’ too. So be ready to brake or pedal harder and earlier if you’ve got bags on board.
Pro tip: Put your butt on the point of the saddle for steep climb grip. Push yourself right back behind the saddle on steep descents so you don’t go over the bars.
Reading the ride
One of the most enjoyable parts of gravel is the variety of surfaces you can call your playground. Experiencing as many environments as possible is genuinely a gift for your soul as well as your skills, too. But if you’re new to riding in nature, here are some basics to be aware of.
Weather
We know wet weather makes everything more slippery, but really dry weather can make rocks and gravel loose. And any weather can change even the routes you know really well. Wind can bring down branches, rain can make puddles, and as soon as it gets below 5º you should watch out for icy patches in the shadows. Check the forecast before you head out, and keep in mind the way past weather could affect your ride.
Terrain
Looking at the bigger picture landscape you’re riding won’t only inspire awe, but it will also help you de-stress and feel more comfortable while you’re pedaling toward the trail ahead. Crags mean rocks, marshes mean mud and obviously distant hills are a cue to make sure you’ve eaten and drunk enough to enjoy them — not just endure them.
Groups
Riding with friends or people you’ve only just met is one of the best bits of any kind of biking, but gravel riding can be especially social. Watching the body positioning of good riders and following their lines is a brilliant way to fast forward your own skills, too. But sometimes it can be hard to see ahead when you’re in a bunch — and you know how important that can be. That’s why it’s vital to always ride your own ride and never be pressured into doing something you’re not comfortable with or confident about.
You’re only winning if you’re having fun, right? And that’s the most important gravel rule of all.
Top 5 Takeaways
- Keep your weight over the pedals for better control
- Maintain a smooth, steady cadence to avoid skidding
- Use your brakes evenly and avoid sudden stops
- Look ahead to anticipate obstacles and changes in terrain
- Practice on varied terrain to build your skills and confidence

About the Author: Trek
Our mission: we build only products we love, provide incredible hospitality to our customers, and change the world by getting more people on bikes.


