Riding easy on overnight adventures is simple when you’re a big spender, but can you comfortably explore by bike without eating a hole in your year’s bike budget?
When it comes to bikepacking there’s an overwhelming amount of gear available to lighten your load and keep you sleeping easy. The trouble is, the price tags can add up, and if you’re not sure you’ll fall in love with adventuring by bike, justifying the cost of entry can be a big ask. But there’s good news— you can get by with a pretty minimal setup to dip your toes in the waters of bikepacking before dropping the big dollars, all you need is some of your basic camping gear and a positive attitude.
Here are the basics of what you’ll want to have for your first trip, and some low-cost solutions for making do without overspending.

Dial-in your sleep setup
It’s all sweet dreams from here.
1. Sleep easy
One of the most important pieces to bikepacking is the overnight factor, and sleeping well sets you up for better days of riding ahead. While ultra-light backpacking sleeping pads are nice for keeping the weight down, just about any sleeping pad will do for your first adventure. Use what you already have or stop by your local camping supply store for a simple foam roll to provide some insulation and comfort overnight. Many camping supply stores also offer gear rentals.
2. Sleep warm
Much like sleeping pads, a sleeping bag doesn’t have to be fancy. Use what you have, or in a pinch, bring a blanket you’re not too worried about getting dirty. As long as you can roll it up and cinch it to your bike, it should get the job done— though we do recommend looking at the weather forecast to be sure that your bag or blanket of choice can provide adequate insulation when the temperatures dip down overnight.
3. Sleep dry
Sleeping al-fresco under starlight is always a treat, but if you think you might encounter inclement weather or anticipate a very buggy campsite, bringing along some shelter is really helpful. A small one-person tent or bivvy will do wonders, or a larger tent if you’re heading out with a friend who can help you share the load. In a pinch, you can use a simple lightweight tarp tied to your bike and a tree as a shelter from the weather.
Fueled for the adventure
No matter where you ride, far or near, you’ll need sustenance, but it doesn’t have to be complicated. Taking a little time to prep your food and water plan can save you money and keep you feeling good for days of riding.
1. Hydration is key
Plan right by bringing a fully filled hydration pack, and any additional water bottles that can fit neatly on your bike. Map out your route and where you might find water along the way. If water sources are ample you can reduce the water you carry. If you’ll be refilling in potable water stations keeping hydrated is easy, but if you’re filling up in rivers and springs a water purifier is a must. If you anticipate bikepacking more, or like to camp off the beaten path, investing in a purification device is worth it, but if you’re unsure how often you’ll go you can keep it simple with iodine tablets-whatever you do, take the initiative to be sure your water is safe to drink. Your stomach will thank you.
2. Feed yourself well
Instant noodles and junk food may be tempting for their ease of access, but we think it’s best to fuel ourselves with wholesome ingredients that keep us feeling strong on the bike. A simple way to keep the cost down is to cook at home and bring foil-wrapped foods you can reheat in a campfire later. Keep snacks lightweight and healthy with dried fruit and nuts or nutrition bars, and bring along a simple titanium mug that you can heat directly in the fire with oatmeal for a simple breakfast.
Need some inspiration? Here’s one of our go-to bikepacking dinners.
Simple make-ahead campfire burritos
Cooking time: 30 minutes
Serves: 4
Ingredients:
4 large flour tortillas
1 150z can black beans
1 Red or green bell pepper, diced 1 /2 White or yellow onion, diced
1 /2 C Shredded cheese of choice
4 Tbsp greek yogurt or sour cream
1/2 tsp Cumin
1 Tbsp Cooking oil
Salt and pepper to taste
A few dashes of your favorite hot sauce
Optional:
A squeeze of fresh lime juice
1 Avocado, diced
Method:
- Heat the cooking oil in a medium pot over medium-high heat
- Add the onion, cumin, and a pinch of salt, and sautée until slightly translucent (about 5-6 minutes)
- Add your diced bell peppers and sautée for an additional 4-5 minutes until they soften
- While your bell peppers and onions cook, drain your can of black beans in a fine-mesh sieve
- When the peppers are softening and just beginning to char, remove your pot from the stove and the onions and peppers in a bowl
- Return the pot to the stove, add the beans to the pot with a few dashes of your favorite hot sauce, and season with salt and pepper to taste
- Warm the beans thoroughly over medium heat until they reach a gentle simmer, then remove from heat and allow to cool
- To assemble the burritos, spread 1 tablespoon of greek yogurt or sour cream on the tortilla, and fill with beans and your vegetable mix, topping with shredded cheese. Add additional hot sauce, diced avocado, and a squeeze of lime if you’d like.
- Roll your burritos and wrap them in two layers of foil to prevent leaks and freeze until you’re ready to ride.
Allow your burritos to slowly thaw while you ride to your destination, and reheat them by placing them on a rock at the edge of your campfire for 5 to 10 minutes before carefully removing them, and enjoy! If your ride is particularly warm or long, store your burritos next to a frozen water bottle in your pack for additional refrigeration.
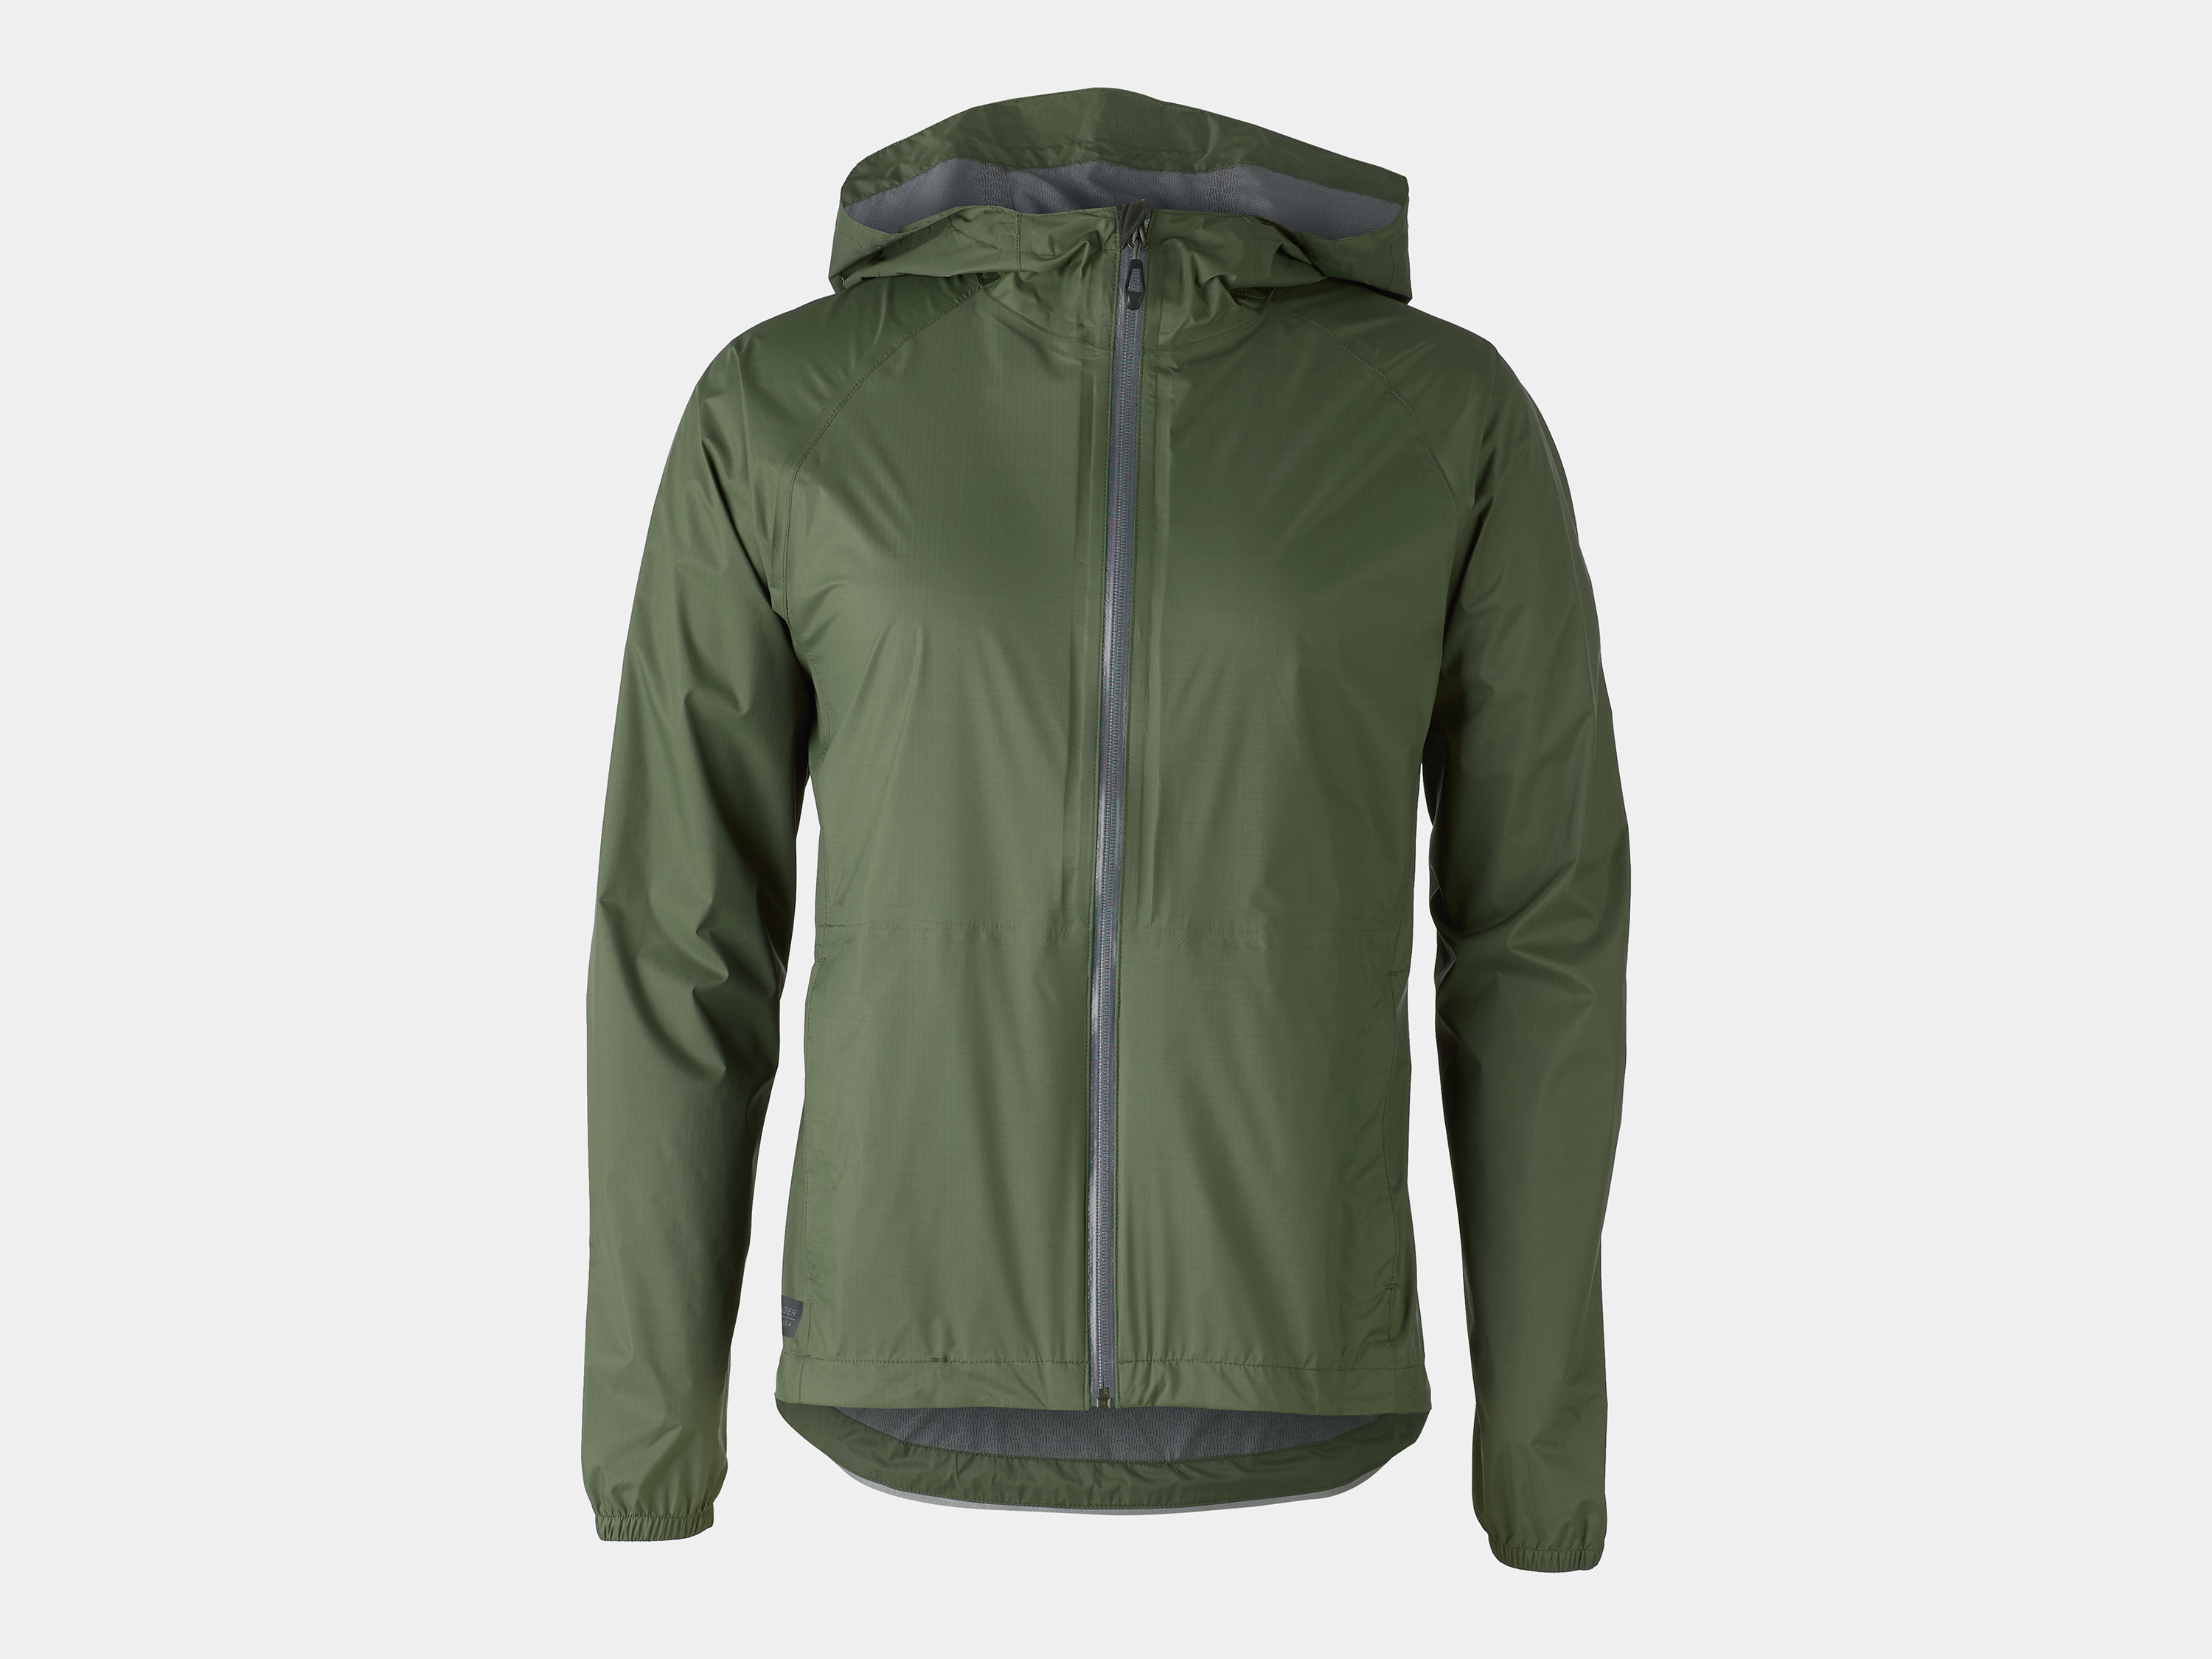
The Avert Mountain Bike Rain Jacket offers the right coverage for cool breezes or spontaneous rain.
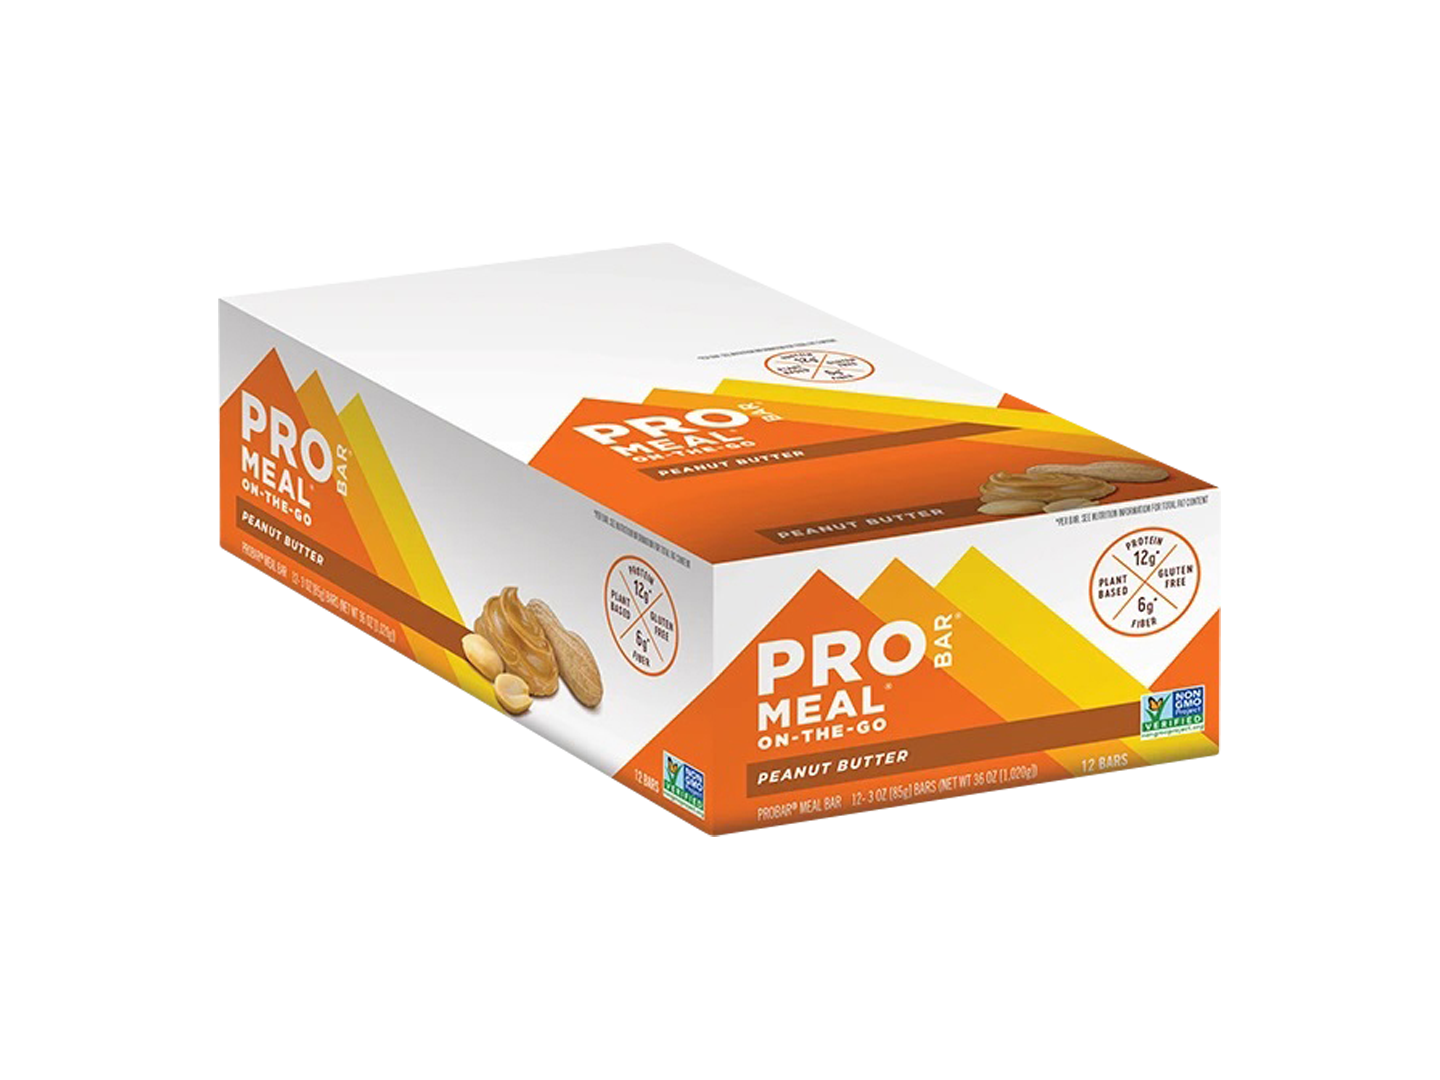
Keep snacks on lock down with PRO Meal Bars that offer real ingredient and real sustenance when you're far out there.
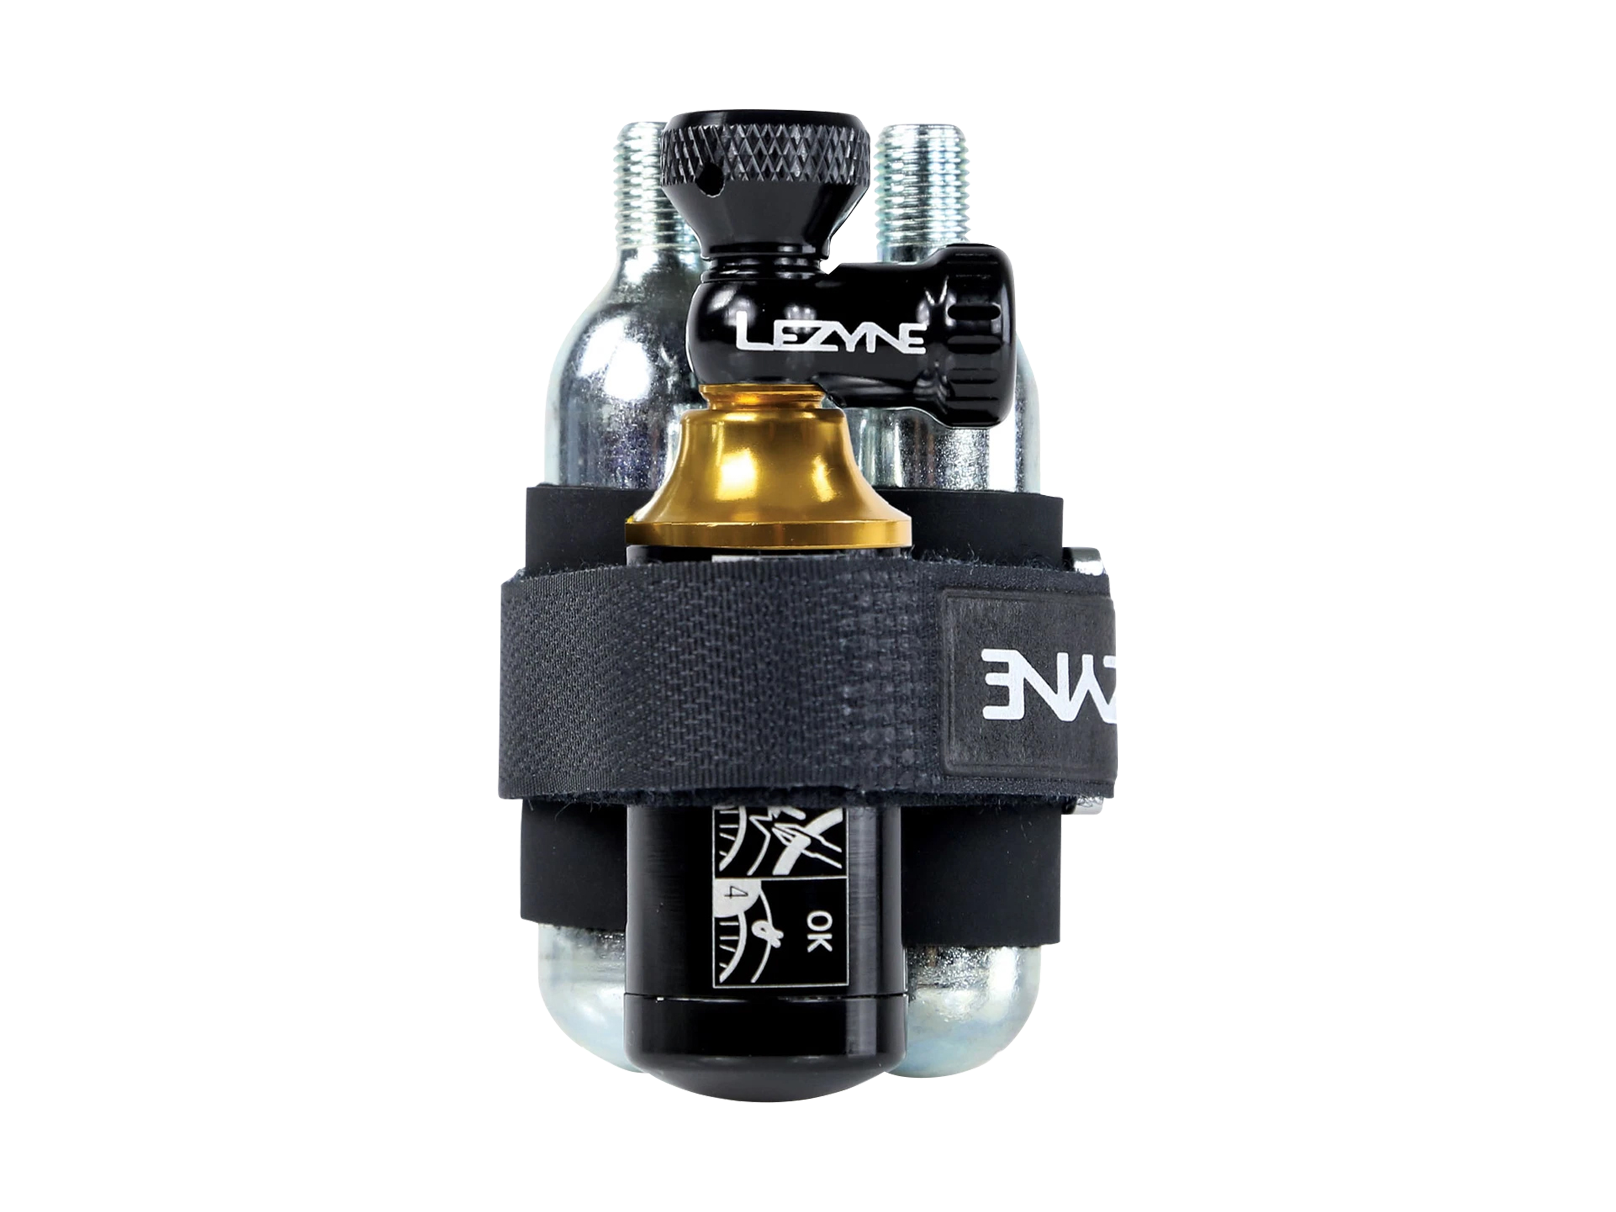
Be ready for flats and fix them in a pinch, even when you're way out there with the Lezyne Tubeless CO2 Blaster.Lezyne Tubeless CO2 Blaster Repair Kit.
Gearing up your bike
Getting your gear set aside for the adventure is one thing, but getting it loaded on your bike is a whole new challenge. Backpacks are certainly handy for carrying a good bit of gear, but we recommend trying to keep the heavier part of the load secured to your bike to keep your body feeling fresh and strong for longer.
1. Strapped
Assorted gear straps are your best friend when you’re bikepacking on a budget. Whether you’re securing tent poles, a sleeping pad, or extra layers to your bike, a few trusty gear straps will serve you well. You can keep things simple with bungees, hook-and-loop straps, or even ski straps, just be sure to be aware of placement to avoid slipping into spokes, rubbing on disc brakes, or pinching cables. Utilize your bike’s inner front triangle for tent poles and longer items, strap sleeping bags and layers to your bars, and keep your center of weight low for confident bike handling when fully loaded.
2. A good bag
A proper hydration pack or simple backpack will provide a perfect home for your lighter-weight items. Stash your rain shell, snacks, and meals to keep them easy to access while keeping the load light and comfortable for long miles.
3. Shine bright
Bike lights or a flashlight will come in handy once you settle down for the night. Be sure you’ve got fully charged lights that are ready to illuminate a dim camping spot.
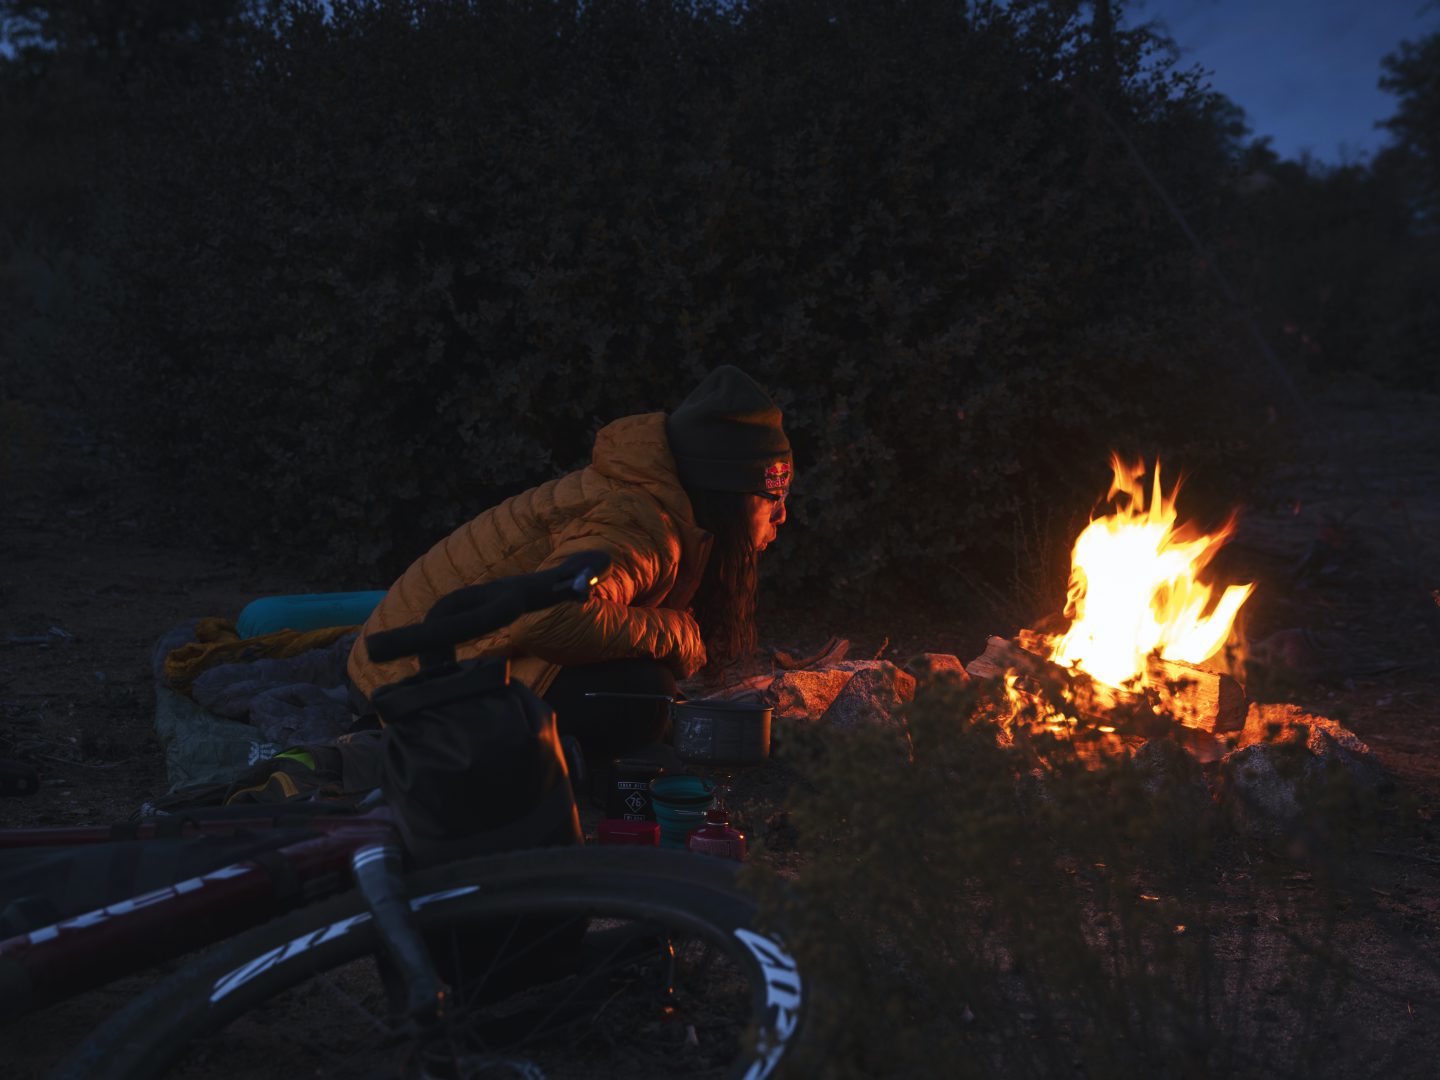
4. Light your fire
Bring along matches or a lighter to get a fire started at camp once you settle in. Respect local fire restrictions and only build fires in designated fire pits. If fires aren’t possible where you’re camping, plan around it with easy foods that don’t require cooking. While it can be tempting to build a large fire for all-night warmth, we recommend airing on the smaller side to allow enough time for it to fully and safely burn out, especially in drought and fire-prone areas. Be sure to fully extinguish any fire before going to bed, or leaving in the morning.
All that’s left now is picking your route and rolling out. Adventure is waiting.
Is there anything else you think is needed for testing the waters of bikepacking? Let us know in the comments!
Gear that loves getting dirty

About the Author: Trek
Our mission: we build only products we love, provide incredible hospitality to our customers, and change the world by getting more people on bikes.