- Bike basics & safety
- How to
- 5 April, 2021
- Trek
Five things to do before every road ride Do this quick pre-ride safety check every time you ride
You should inspect your bike before each and every ride to avoid mishaps out on the road. To make it quick and easy to remember the steps, we use the “M” method. Each of the five points of the letter “M” signifies a checkpoint in your inspection. You’ll start at the rear wheel, move up to the seatpost, down to the pedals, up to the handlebars, and down to the front wheel. Learn how to perform a pre-ride check by following along with our step-by-step video and the instructions below.
Step-by-step pre-ride road bike check
“M” point #1
The first point of the “M” is the rear wheel.
Tire pressure makes a big impact on how your bike feels and performs, so you should be sure to check it before every ride and inflate your tires to a recommended range. (Learn how to pump your bike tires here.)
You’ll find the maximum recommended pressure (PSI) printed on your tire’s sidewall. But you should know this value is exactly that: a maximum recommended tire pressure. Most riders will be better off with a PSI that’s lower than the maximum. The right pressure for you depends on several factors, including your weight, where you’re riding, and how you want your bike to feel on the road.
You’d think running higher pressure would result in a faster ride, but that’s not always the case. In fact, depending on conditions and your setup, a lower pressure could be faster and a whole lot more comfortable. It may take a little trial and error to find the tire pressure that’s just right for you. You can find recommended pressure ranges for Bontrager tires here. Smaller to medium-sized riders should start at the bottom of the range and larger riders should start toward the middle.
Pro tip: If you’re running a tubeless tire setup, we recommend adding fresh tubeless sealant every 6 months.
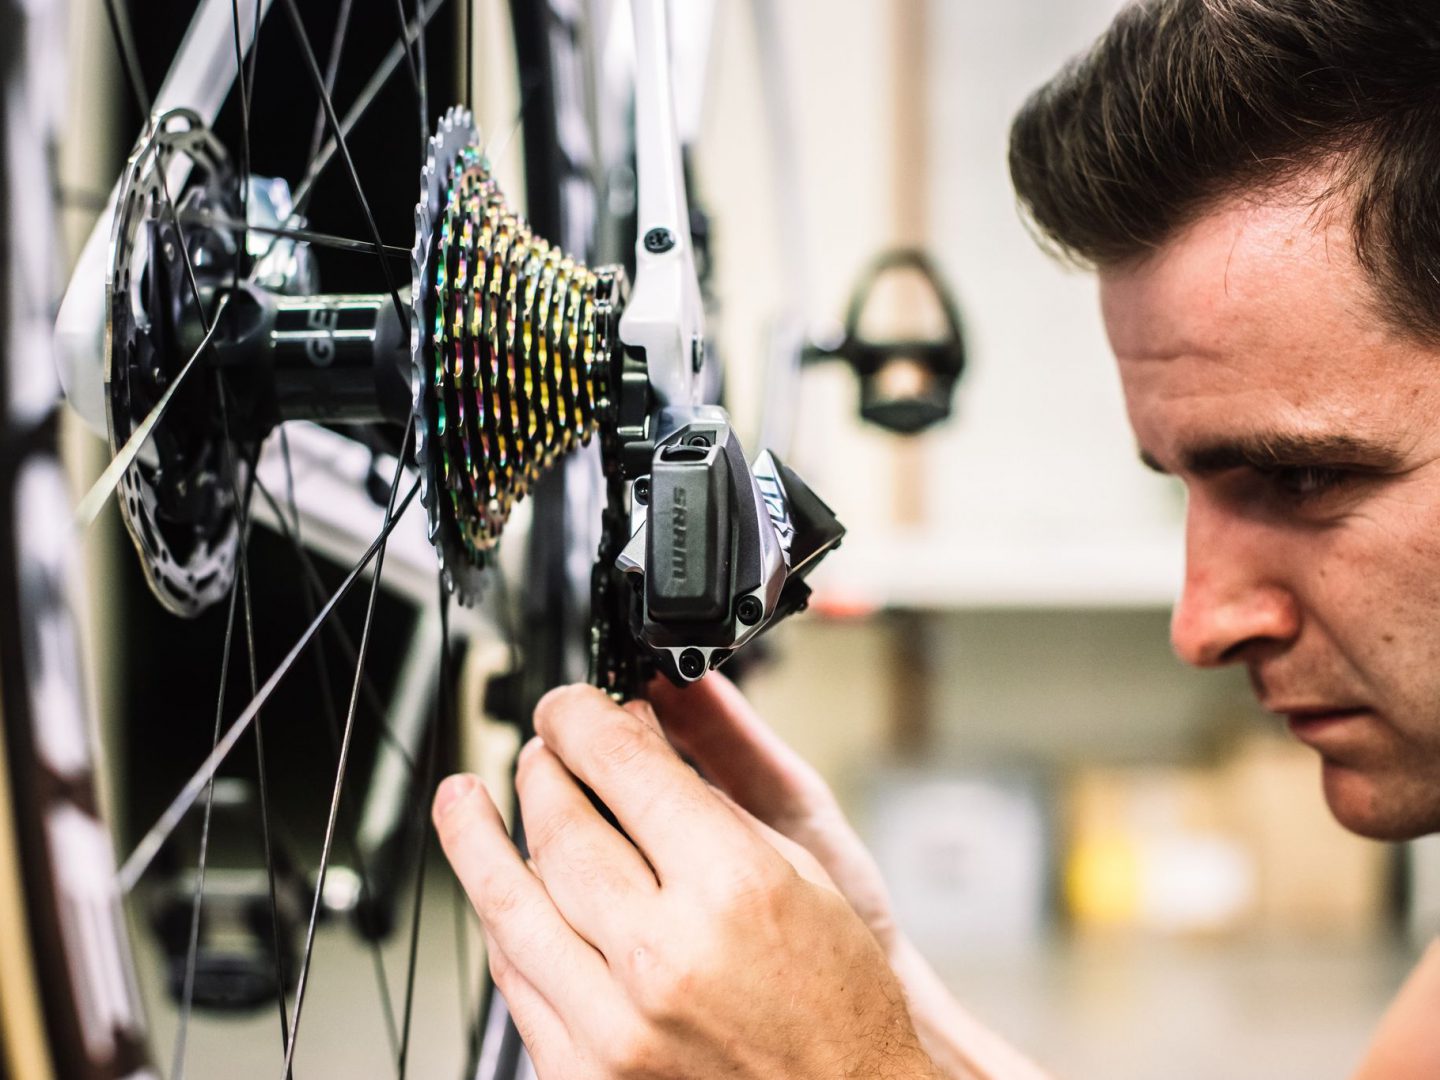
Check the brake pads for wear and spin your wheel to make sure it spins freely through the brakes with no rubbing. If they rub, and you’ve checked to make sure the wheel is seated correctly in the dropouts, you may need to adjust your brakes.
You should also take this opportunity to make sure the quick-release lever or thru-axle that attaches your wheel to your frame is nice and tight.
“M” point #2
Move up the seatpost to the saddle and twist your saddle from side-to-side. Make sure the seat post clamp is tight and holding the saddle and seatpost securely in place.
Then, with your bike on the ground, drop the rear of the bike from about ankle height. Listen for any rattles or other odd noises. This could mean that something is loose or worn out and should be taken into your local Trek retailer for service.
“M” point #3
Now move down to the crankset—the middle point of the “M.” Spin both pedals and check for any creaks or other sounds.
Next, grab both pedals and torque them from side-to-side, check for any play in the pedal or crank system.
Then spin the crank backwards, and listen for any creaks or squeaks in the chain or shifting system.
General chain noise could just mean that your chain needs to be lubed, but shifting noises usually need to be brought to a retailer for a closer look.
“M” point #4
Move from the cranks up to the handlebars. With your bike on the ground, drop the front of the bike from about ankle height. Listen for any rattles or other odd noises, just like you did for the rear part of your bike.
Be sure to twist the area to ensure the stem and handlebar are tight—see the video for a demonstration.
Then, give the brakes a squeeze to make sure they engage without pulling the lever all the way back to the handlebar. If the brakes are not working properly, replacement parts and service can be found at your local Trek retailer.
“M” point #5
The final point of the “M” is the front wheel. You’ll essentially repeat the same process you used for the rear wheel.
Just like you did for your rear tire in “M” point #1, you’ll want to check the pressure of your front tire. Follow the same guidelines on tire pressure and range, and take the same steps to inflate your front tire if your pressure is low.
Spin your front wheel to make sure it spins freely through the brakes without rubbing. If they rub, and you’ve checked to make sure the wheel is seated correctly, you may need to adjust your brakes.
And, again, take this opportunity to make sure your quick-release lever or thru-axle is tightened properly.
That’s it! Pretty straightforward, right? Now, make sure your lights are charged up and properly attached, your water bottles filled, and your jersey pockets stuffed with all the necessary snacks.
And make sure to bring your bike in for regular maintenance at your local Trek retailer to keep your components running smoothly and catch any small issues before they become big problems. You can find your local Trek Certified Service provider using our store finder.

About the Author: Trek
Our mission: we build only products we love, provide incredible hospitality to our customers, and change the world by getting more people on bikes.


